This tutorial demonstrates how to run the simulation and get the simulated intensity data image in a few mouse clicks.

For Linux users: run an executable located in BornAgain installation directory from the command line:
$ <install_dir>/bin/bornagain
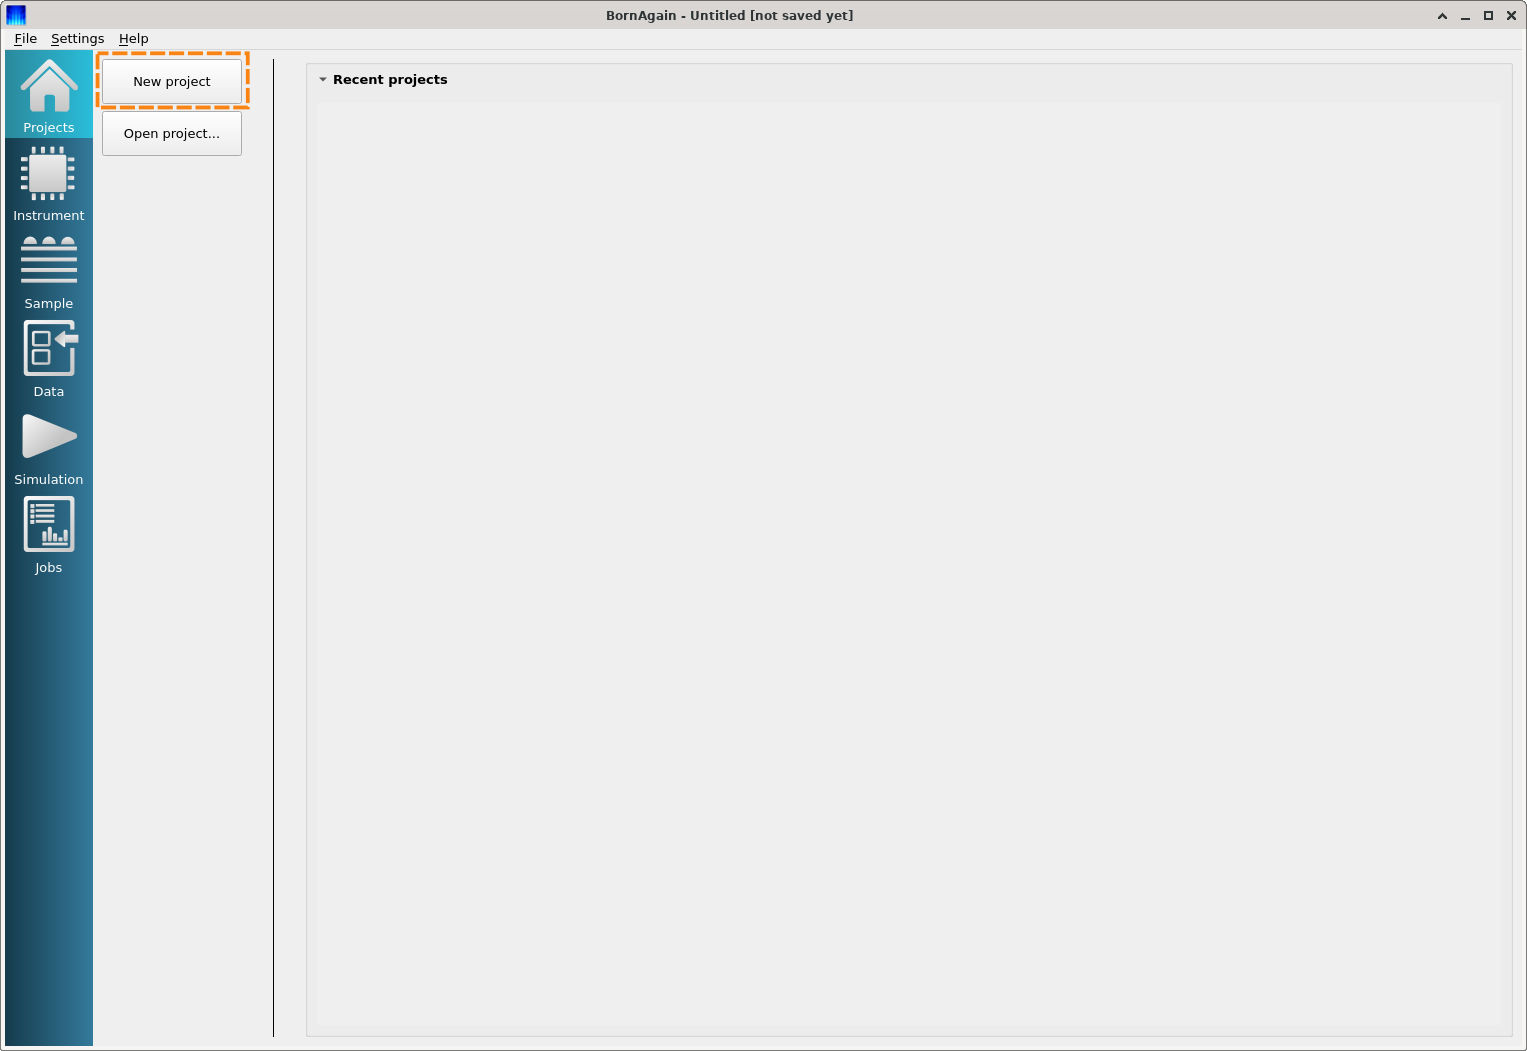
When you start the BornAgain GUI, you will be presented with the Projects panel. Click on the “New Project” button to create a new project.
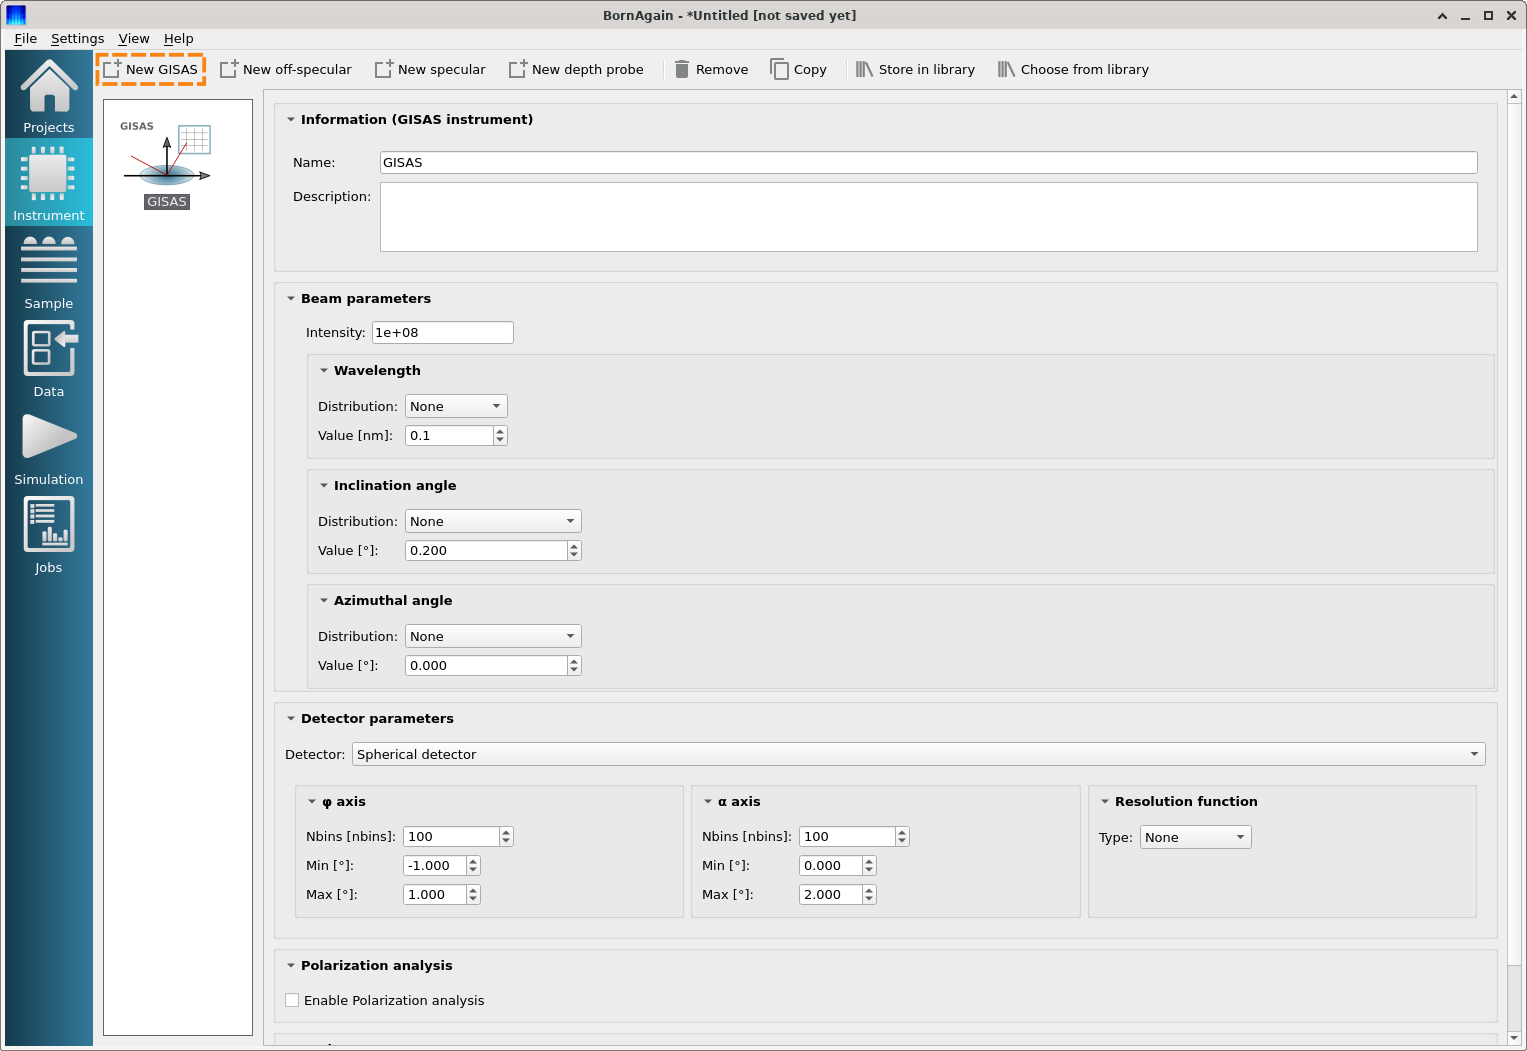
Switch to Instrument panel to select and configure an instrument; e.g. GISAS. Upon selection, the detailed modifiable definition of the instrument is displayed in the instrument pane.
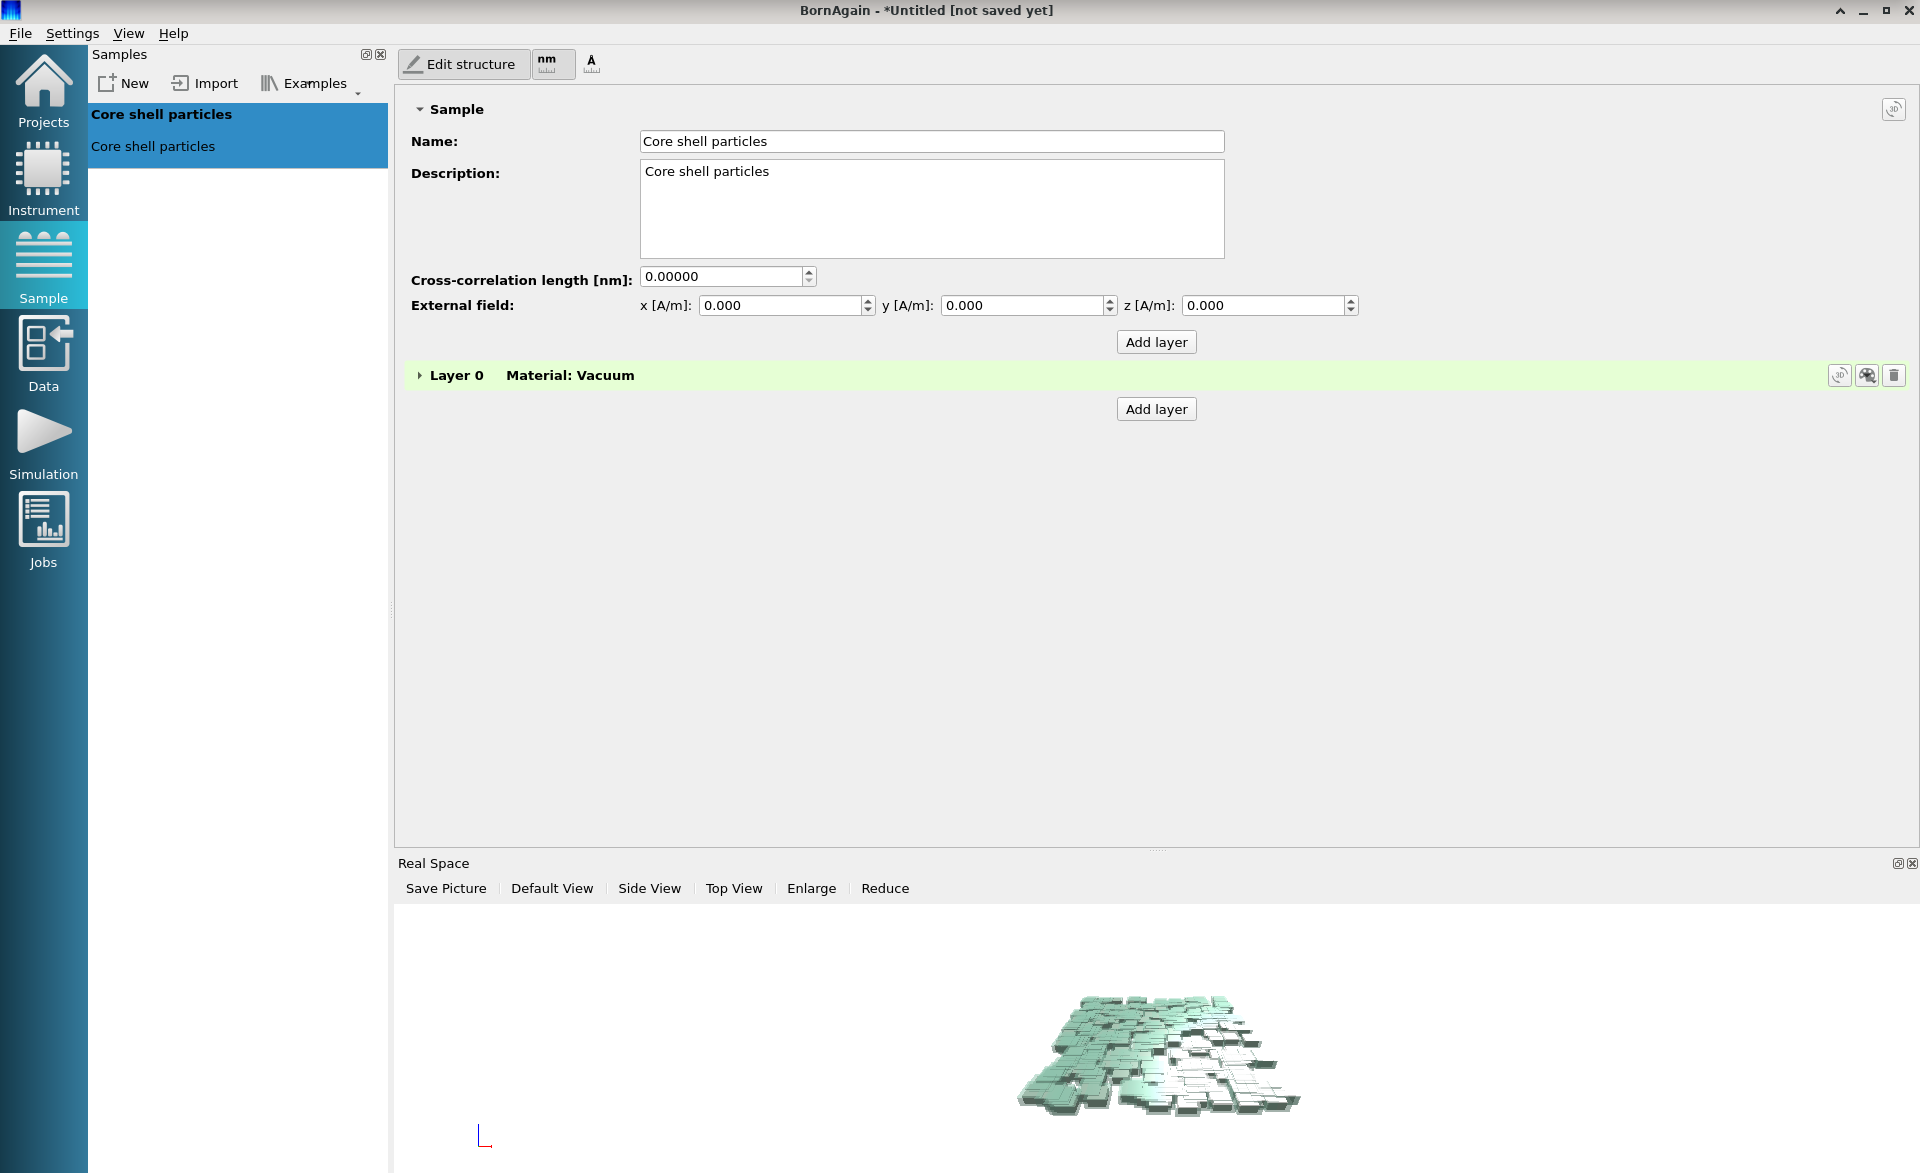
Switch to Sample panel to create and/or modify a sample. A set of predefined samples are available from the Examples menu.
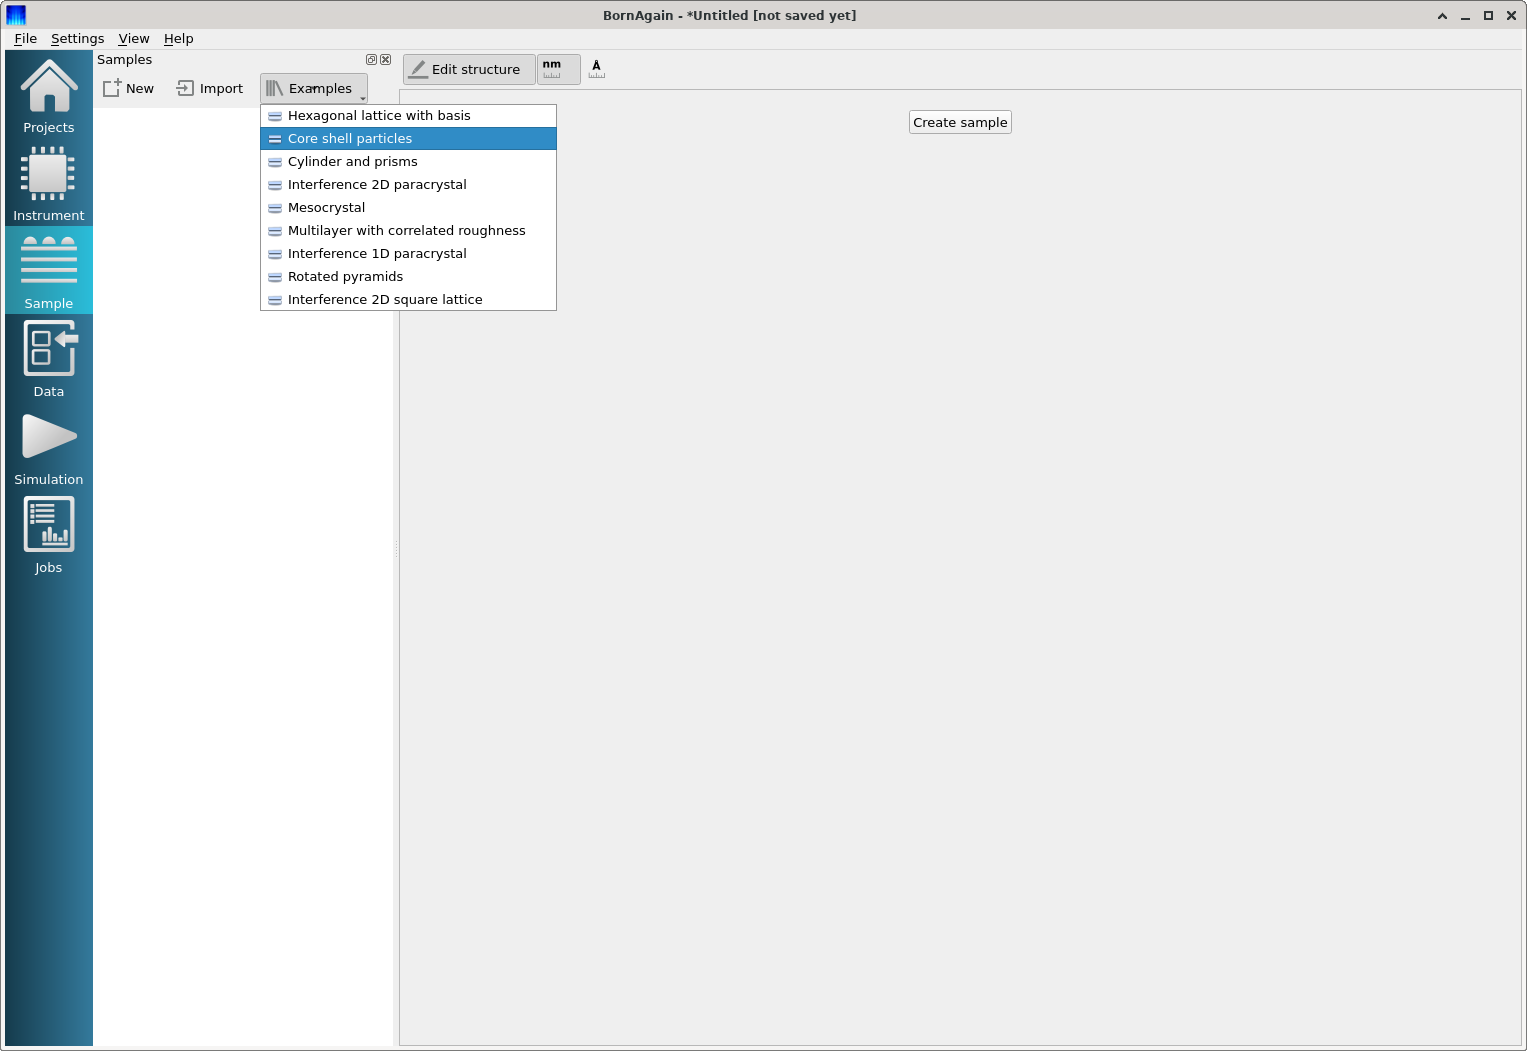
Upon selection, the detailed modifiable definition of the sample is displayed in the sample pane. In the image below, “Core shell particles” is selected as the sample.
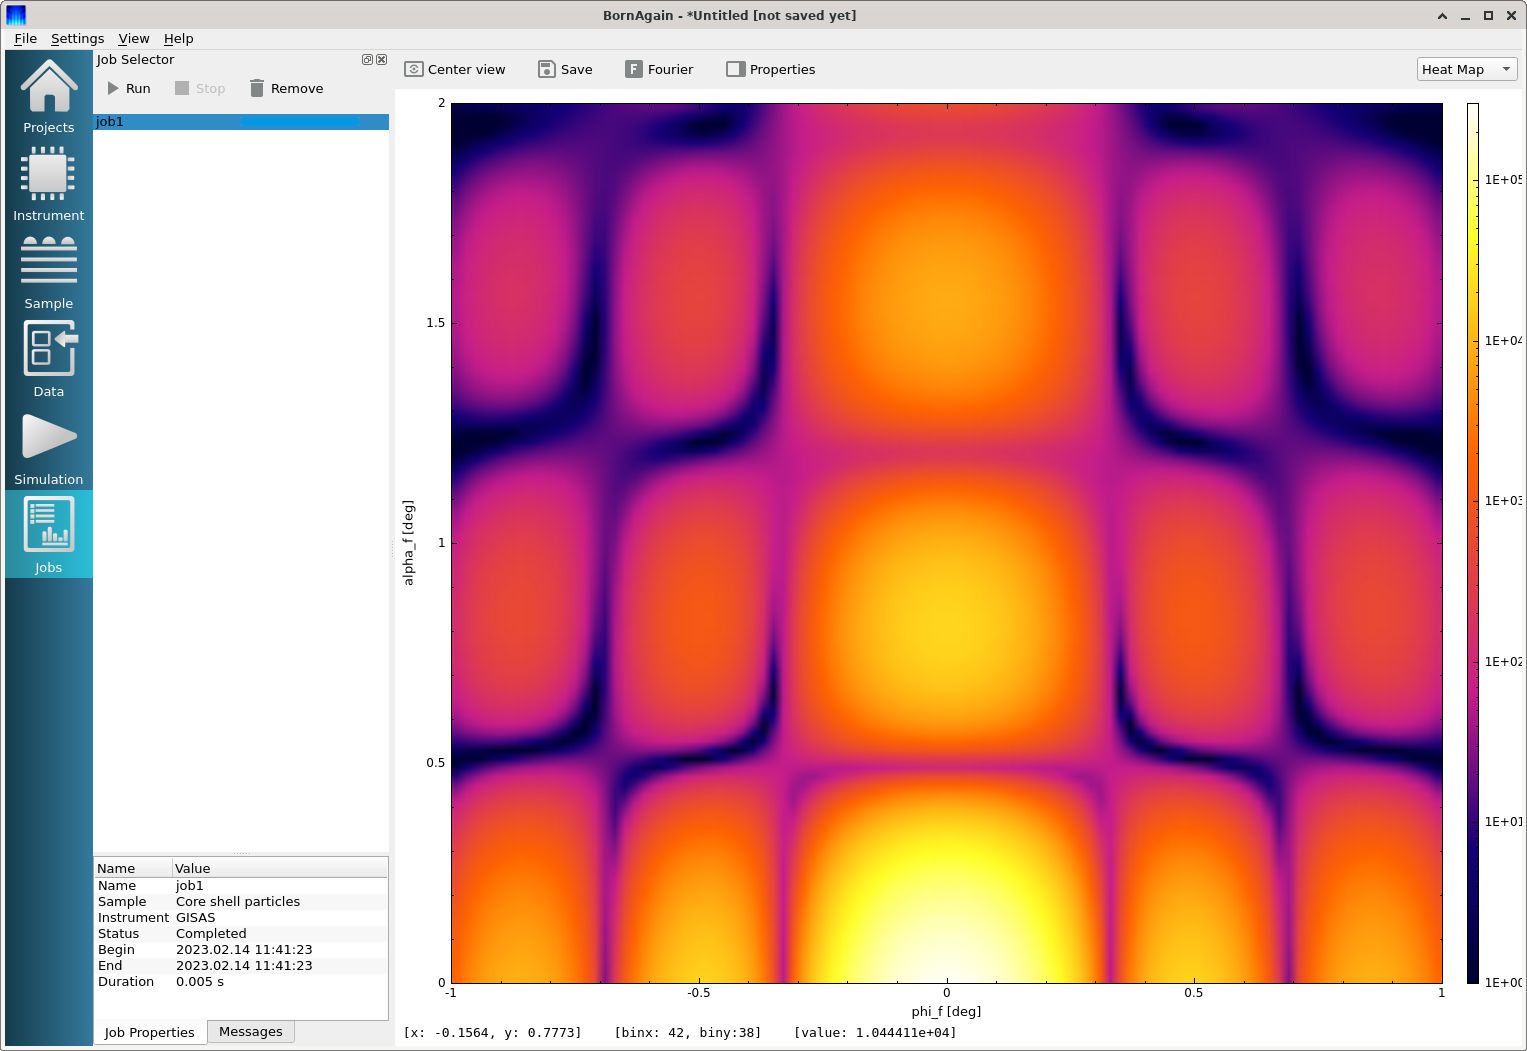
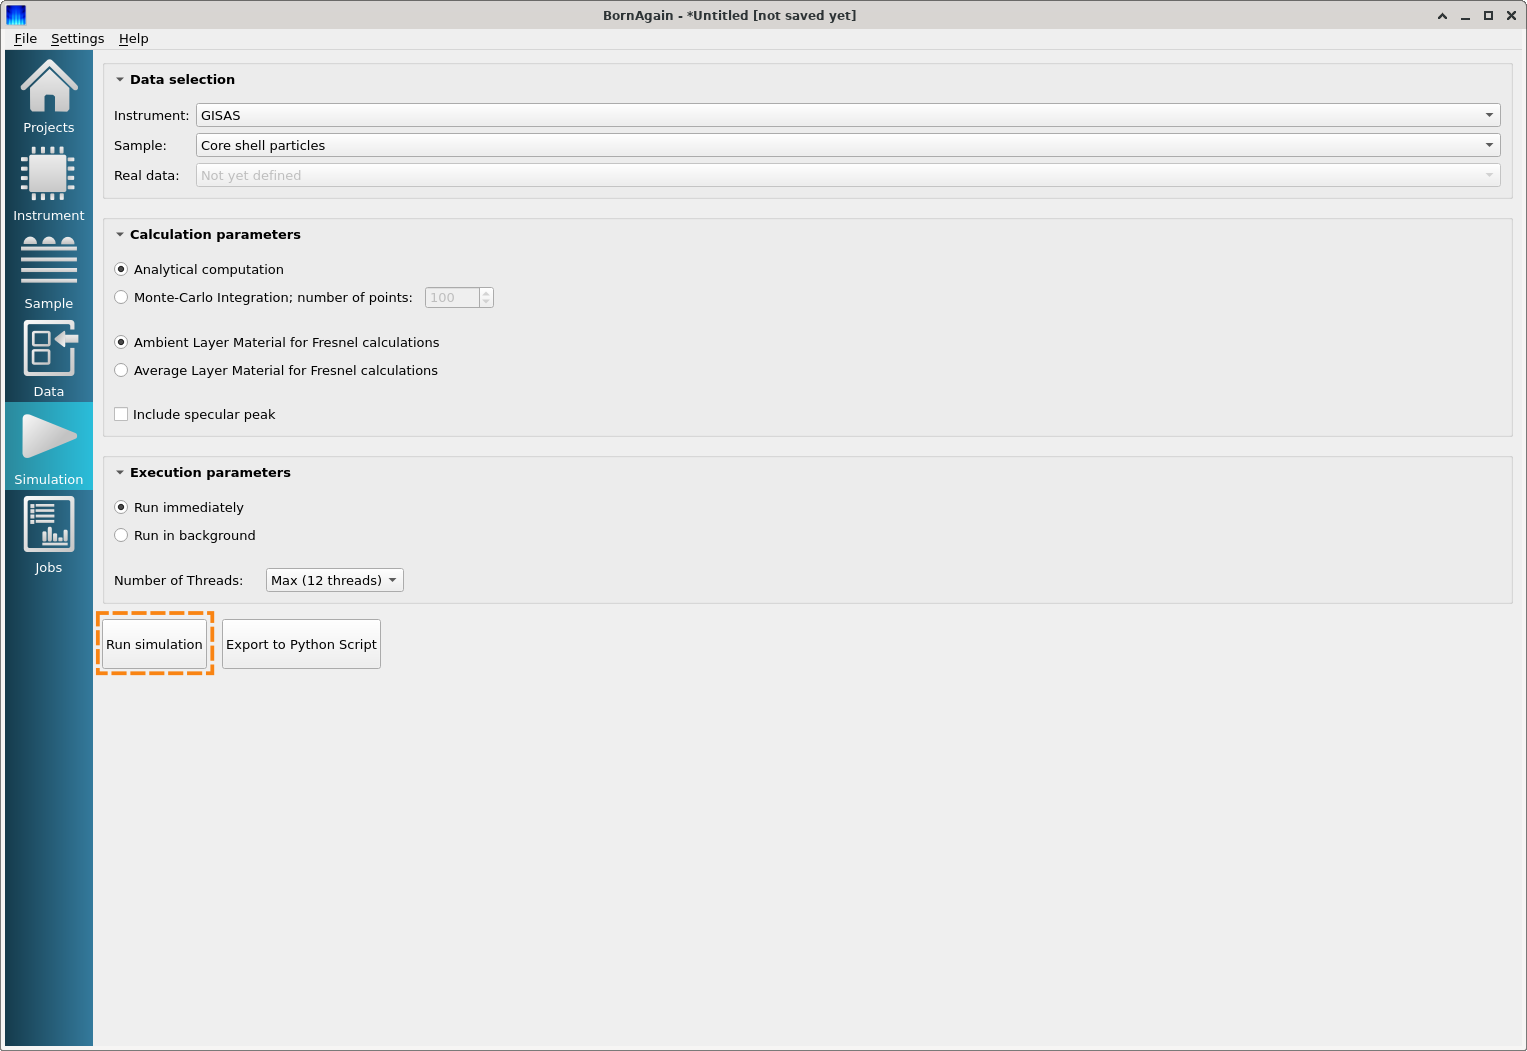
Switch to the Simulation panel and press the “Run Simulation” button to execute the simulation.
When the simulation is completed, the current view will be automatically switched to the Jobs panel which shows the results of the simulation.