This tutorial demonstrates how to run the simulation and get the simulated intensity data image in a few mouse clicks.

For Linux users: run an executable located in BornAgain installation directory from the command line:
$ <install_dir>/bin/BornAgain
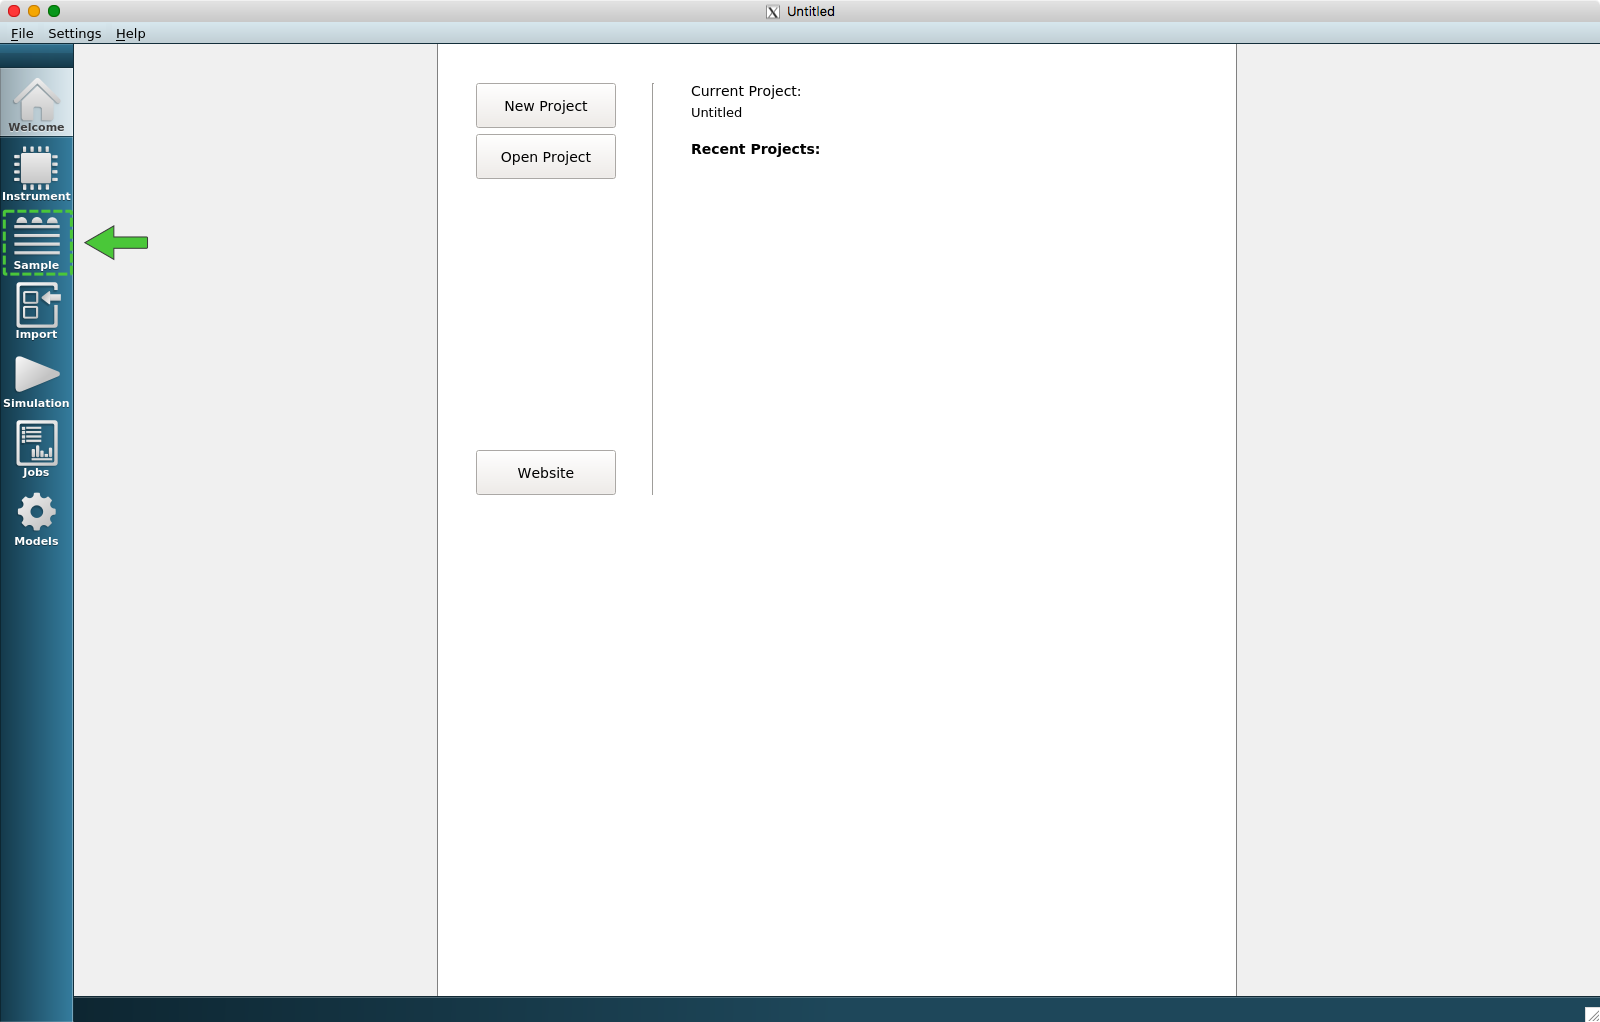
When you start the BornAgain GUI, you will be presented with the Welcome View as shown on the plot. Switch to the Sample View by clicking on the pictogram marked on the left panel.
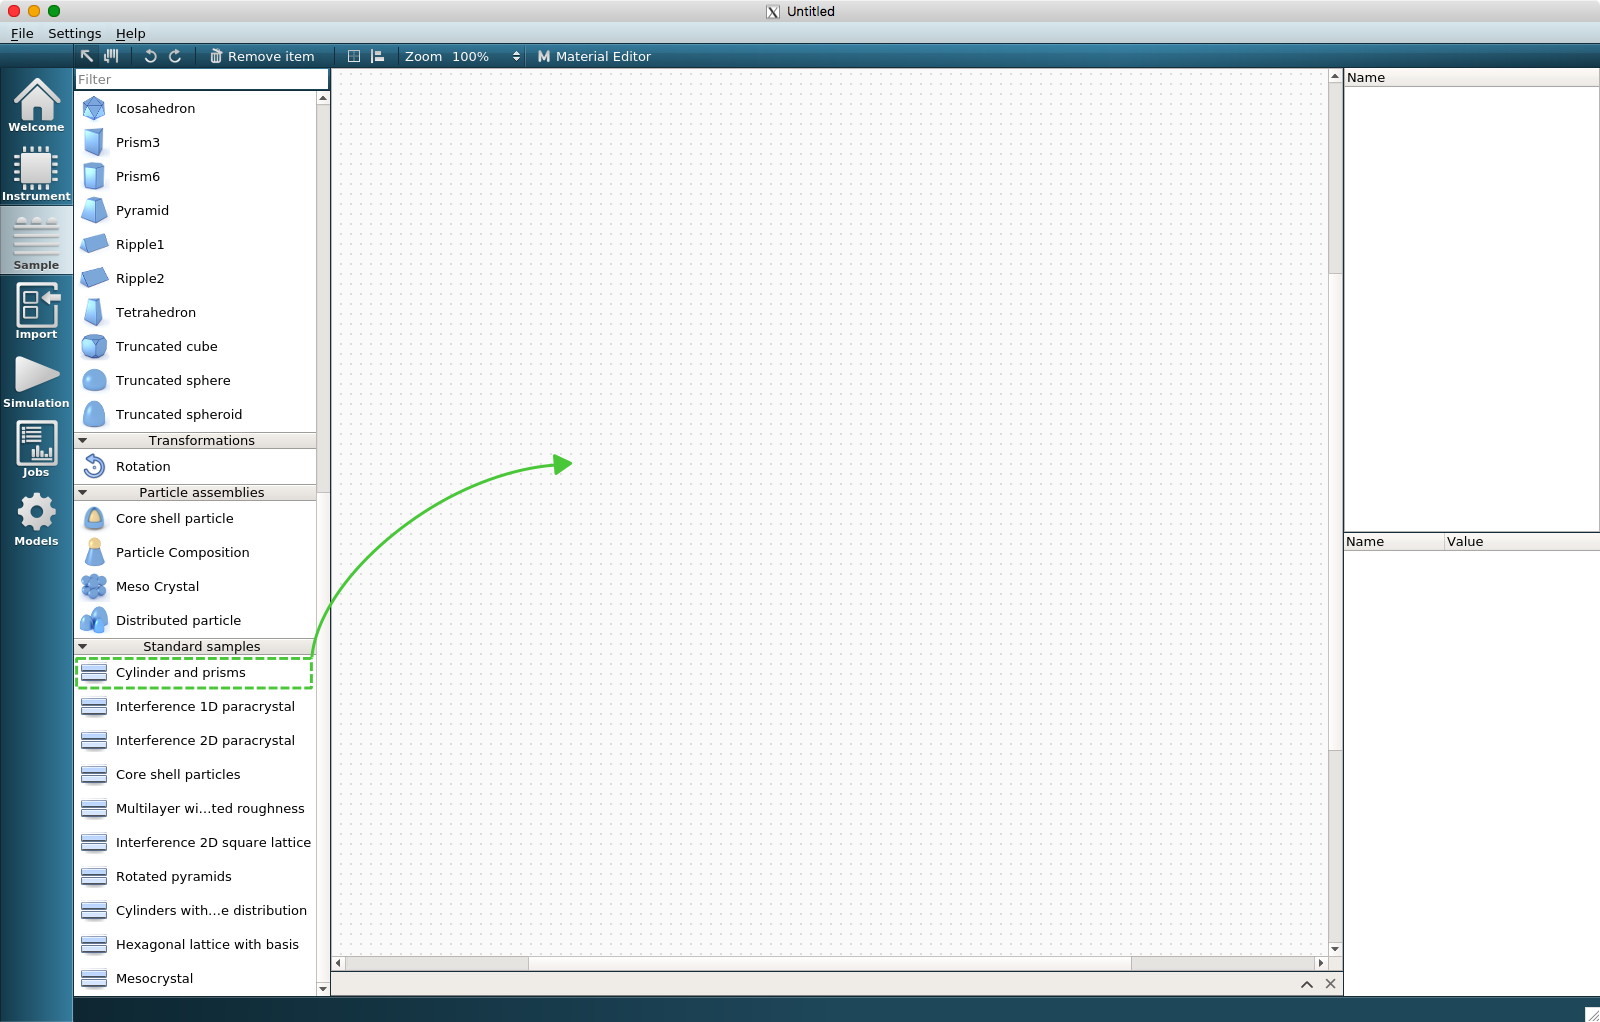
Drag the predefined standard sample with the name “Cylinder and Prisms” from the item toolbox and drop it on the canvas.
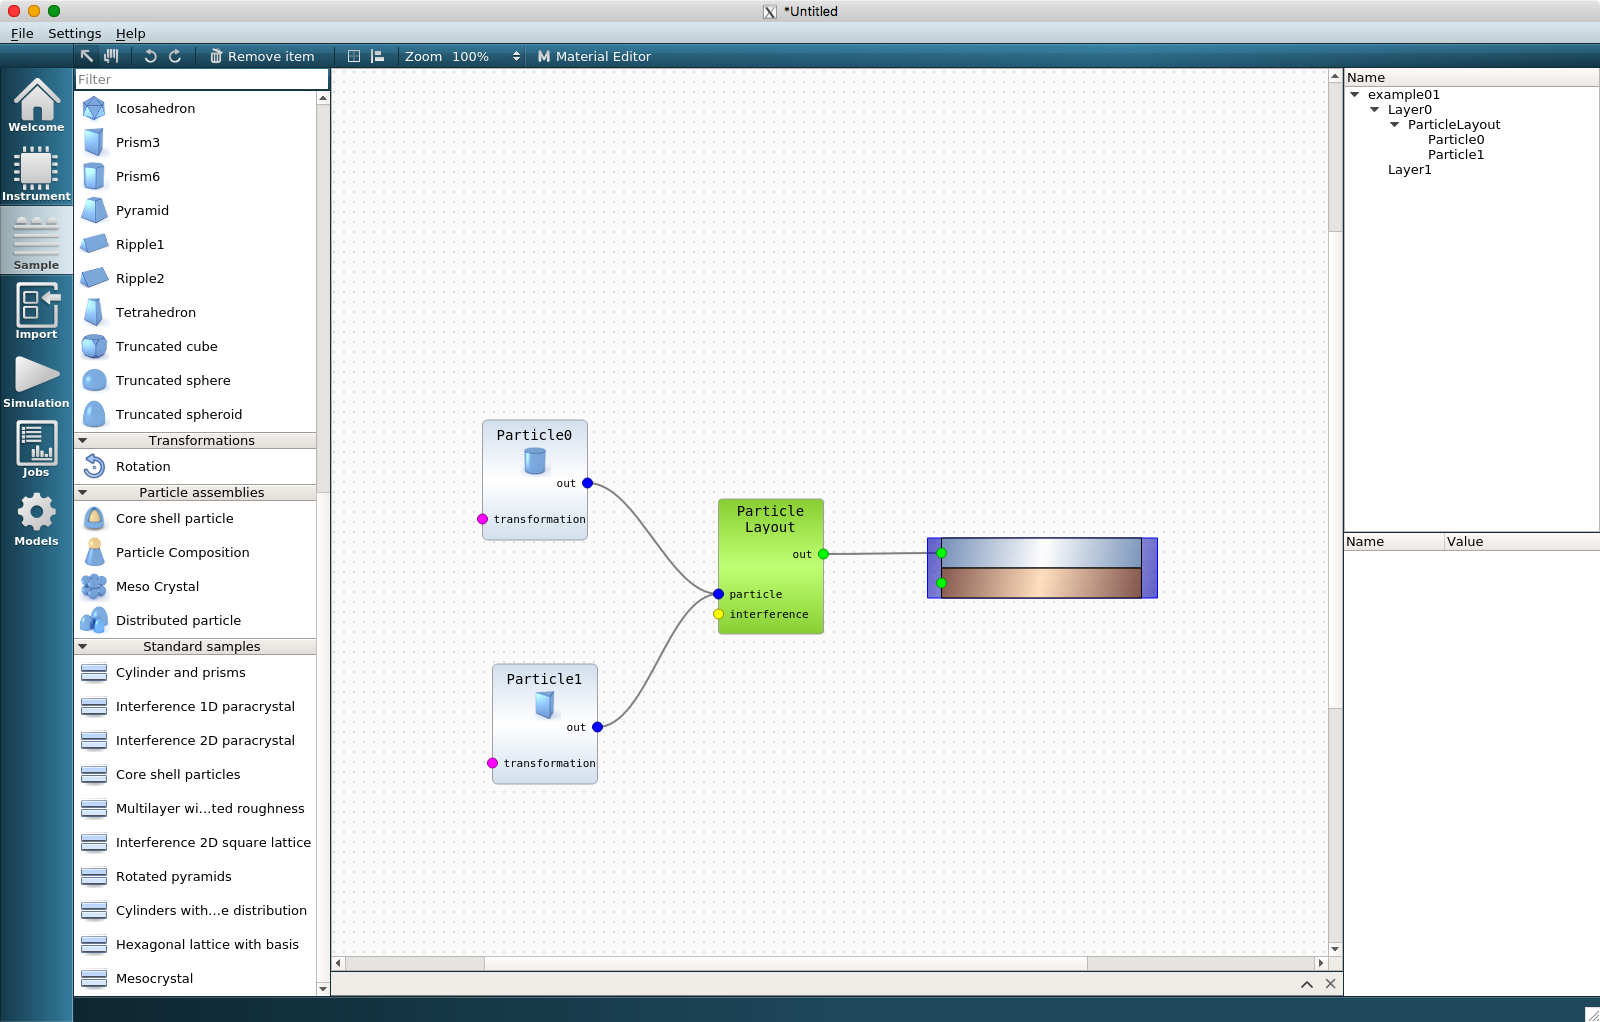
You will get a sample representing a multilayer with two types of particles on top of a substrate.
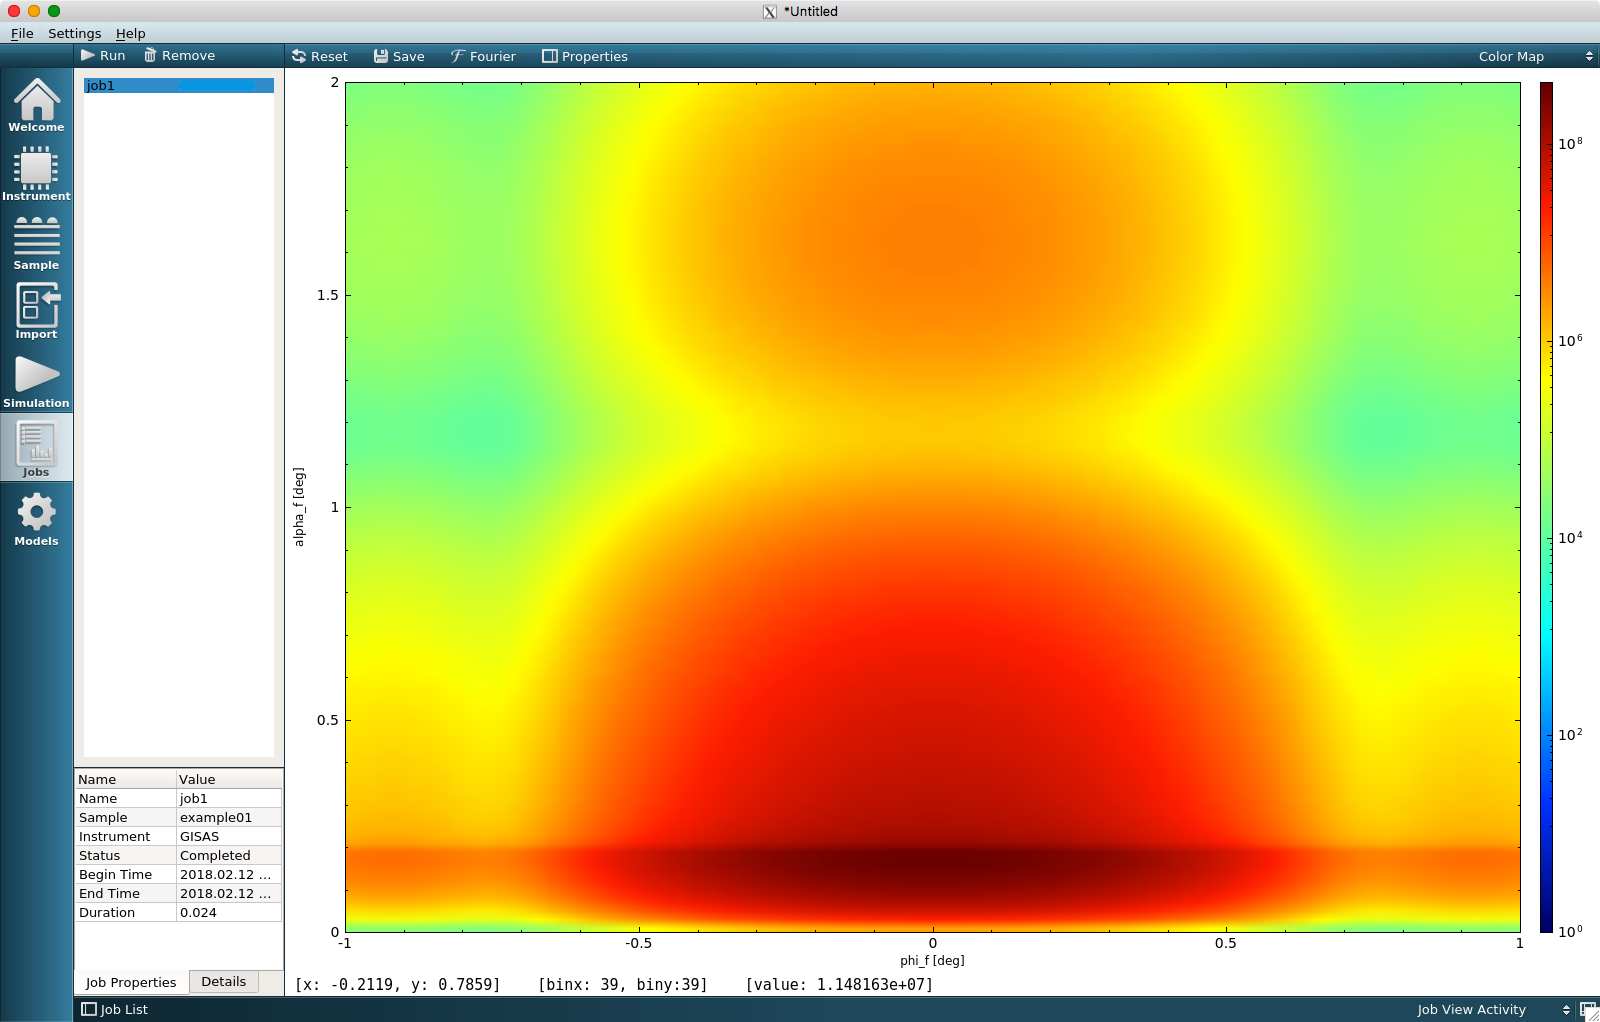
Switch to the Simulation View and press the Run Simulation button.
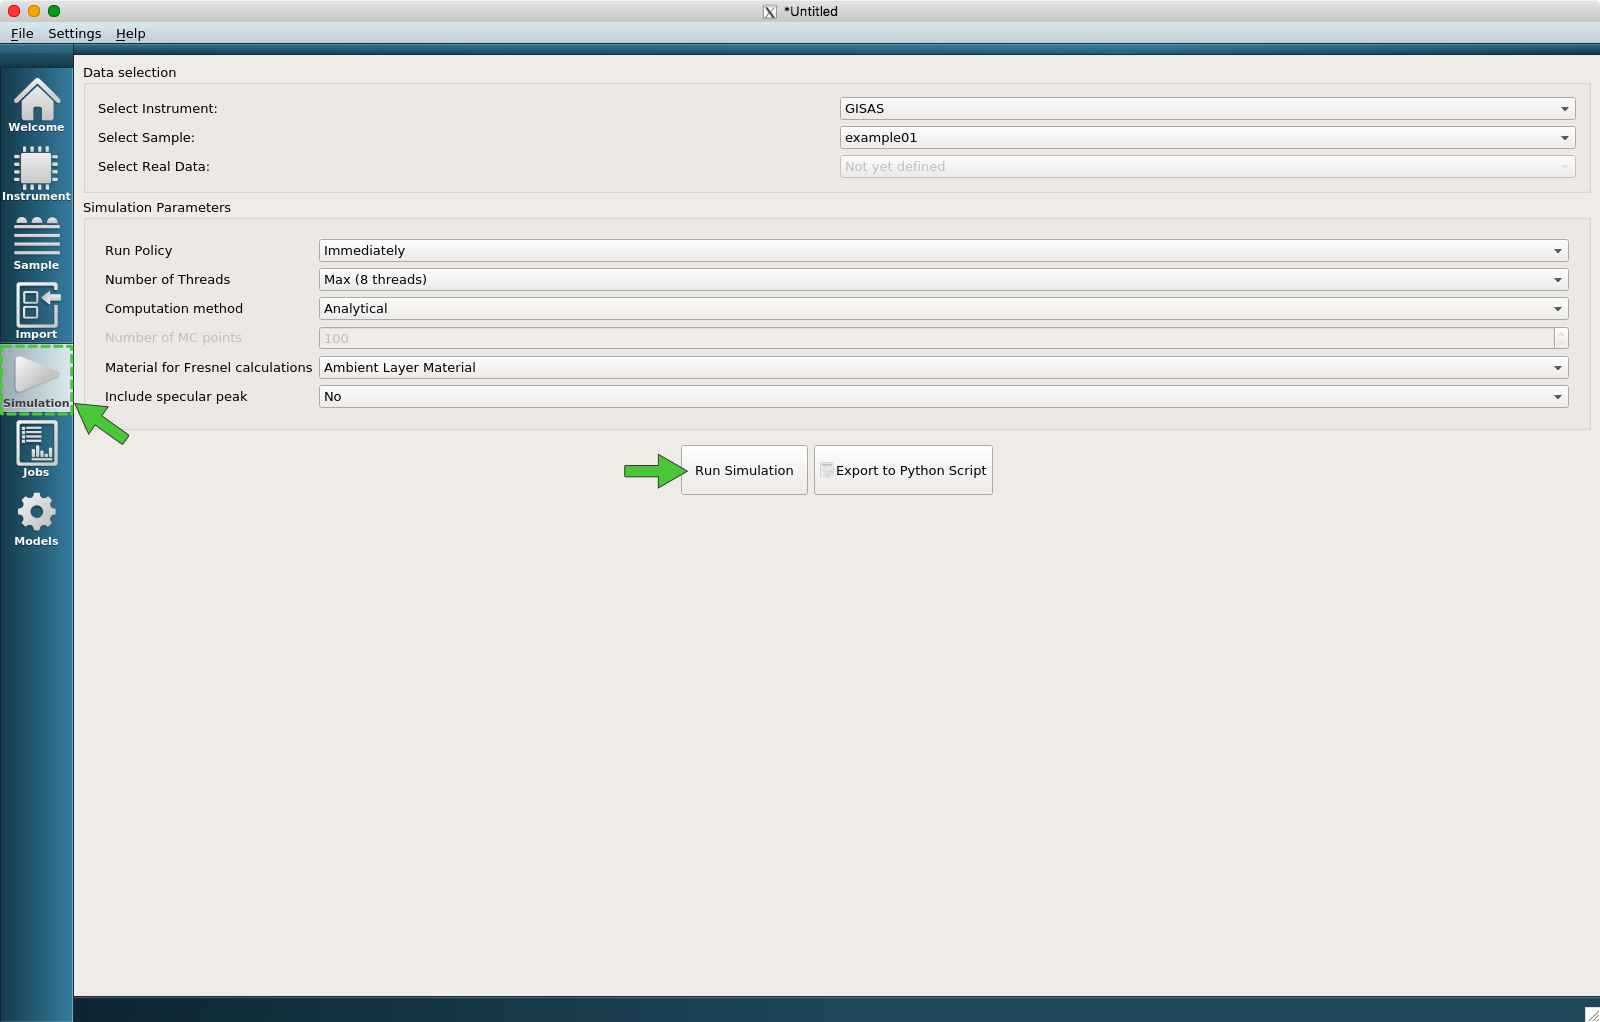
When the simulation is completed, the current view will be automatically switched to the Jobs View showing the results of the simulation.