In this tutorial we explain how to install Python together with all possible science-related packages
using the Anaconda Python distribution and how to run BornAgain in the conda environment.
Download the Anaconda distribution for Windows from the Official website. Please make sure, that
This means, that for BornAgain installed using the installer with the name BornAgain-1.19.0-python3.9-win64.exe
you need Anaconda Python 3.9 64-Bit version.
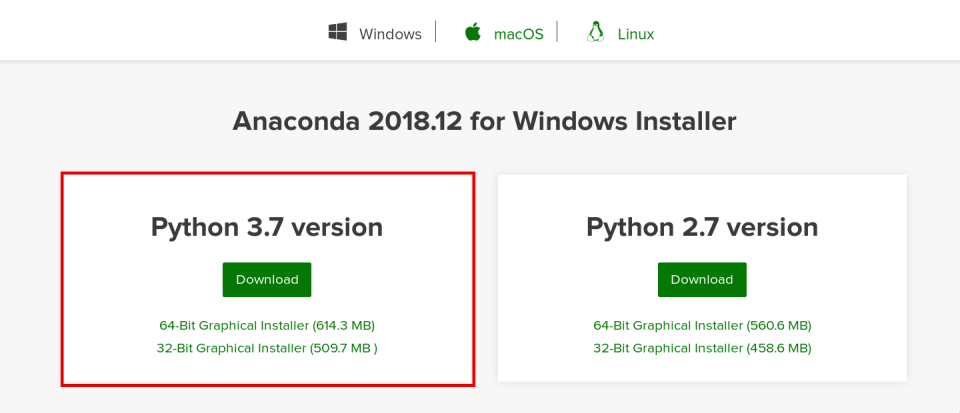
Anaconda website download page
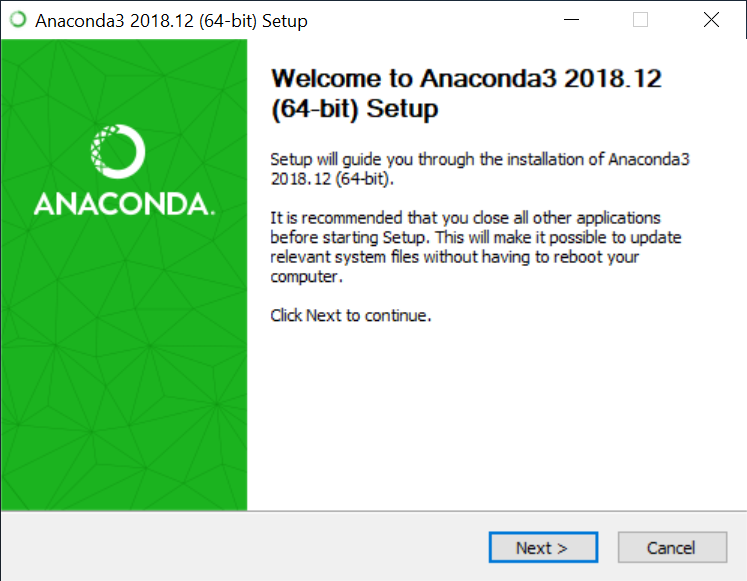
Run the installer

Agree with installation option 'Just Me'

Agree with the default installation folder
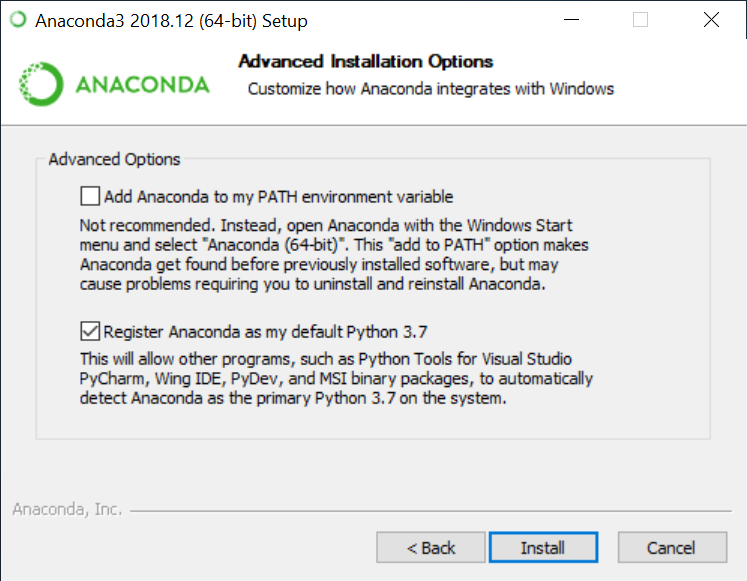
Agree with advanced options defaults
Push the Install button, which will start a lengthy installation process.
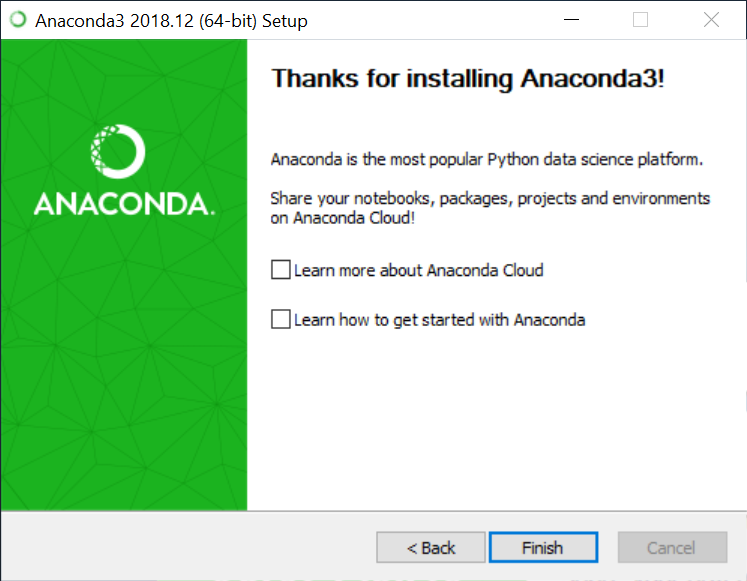
Anaconda nowadays comes with a nice free code editor from Microsoft and we recommend to install it during the next installation step. An editor provides Python code highlighting and is extremely handy in Python code development, as well as for any script-related or code-related activity (e.g. Latex, web development, etc).
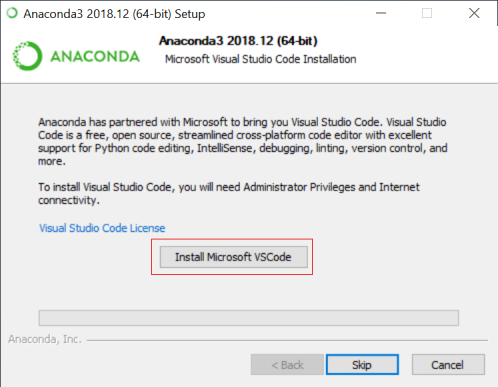
Push the button Install Microsoft VSCode and after this installation is complete you are basically done.
In this scenario you have installed Anaconda to your local home directory and you didn’t change any system variables. This approach has the advantage that you can’t break any other software and/or Python installations existing on your system.
The disadvantage is that your Anaconda is not integrated with the Windows installation. You will have to use the Anaconda command prompt and Anaconda navigator
to have the correct Python set up. Please see below.
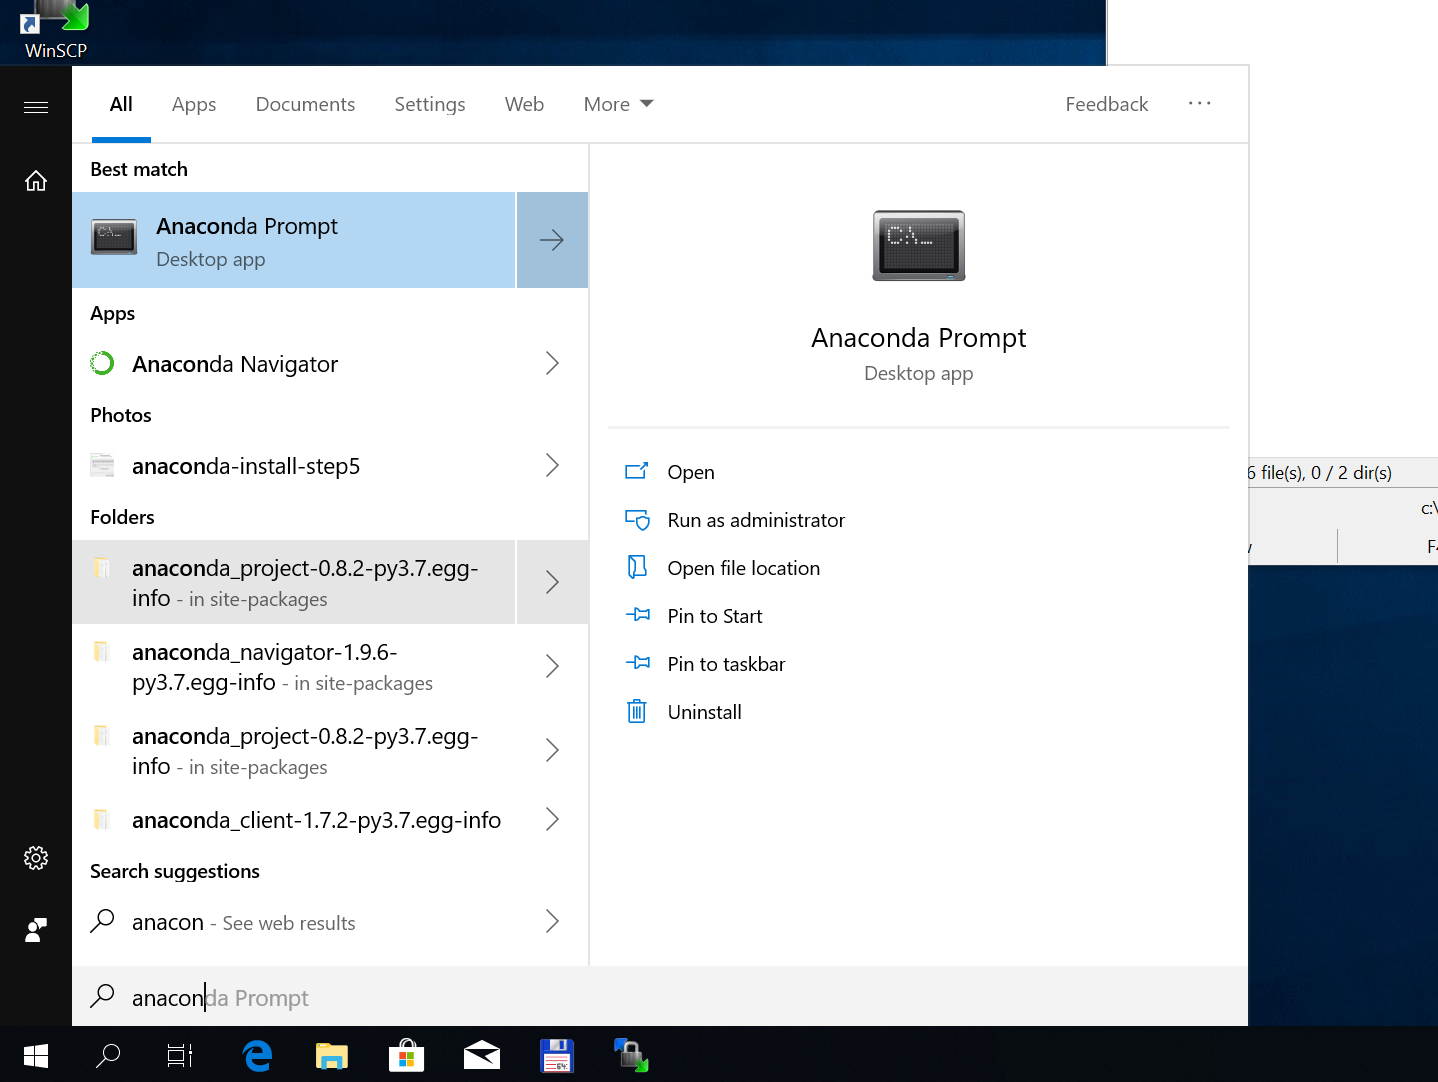
To validate that BornAgain is working together with the installed Anaconda, launch Anaconda Prompt from the Start menu.
Just click Start menu and start to type Anaconda... unless Anaconda Prompt appears in the options already.
A new Anaconda command shell will appear. To validate the BornAgain installation, start to type
python to start the Python interpreterimport bornagain as the first commandprint(bornagain.GetVersionNumber()) to print the BornAgain version number on the screen.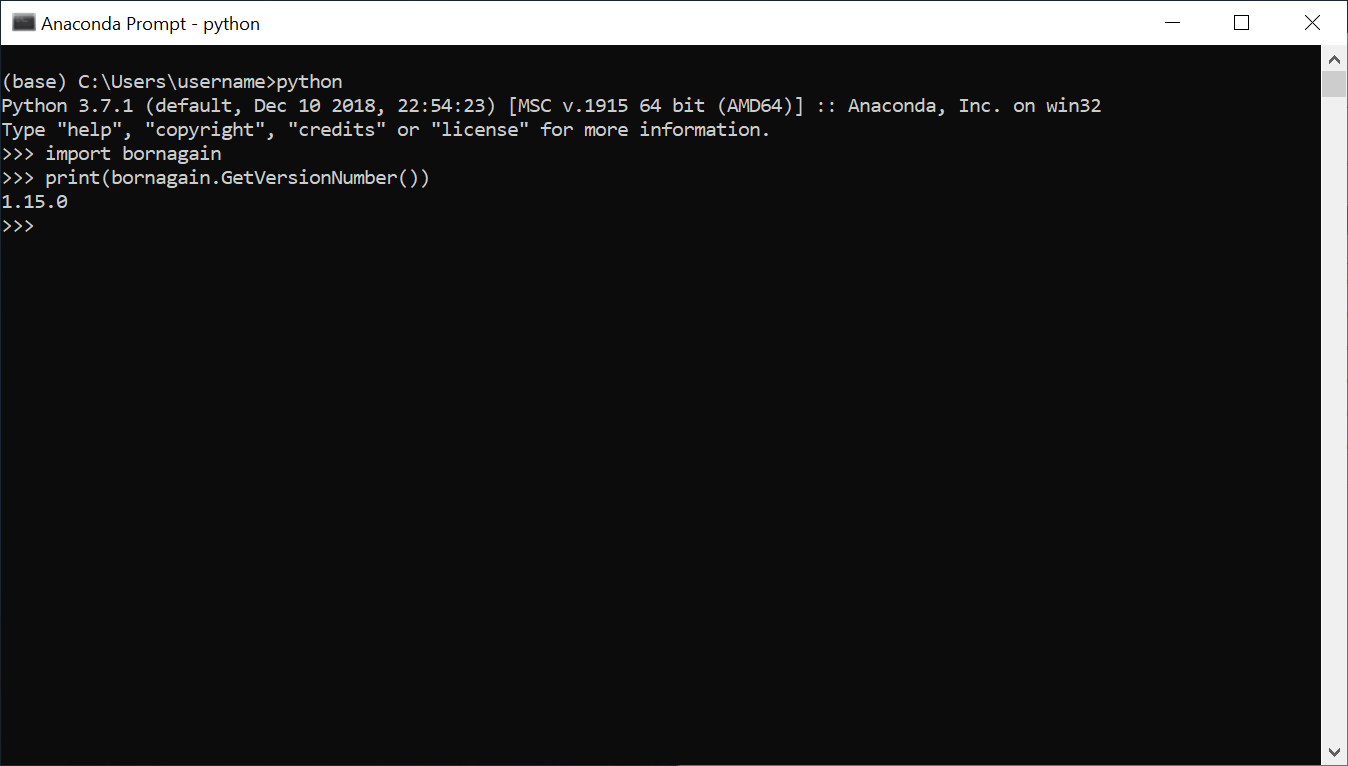
If no errors will come up, and you also see the BornAgain version number printed on the screen, your installation is working.
To run a BornAgain example from the command line, launch Anaconda Prompt and
type (or copy-and-paste) the command below to see a scattering image appearing on the screen.
python C:/BornAgain-1.19.0/Examples/scatter2d/CylindersAndPrisms.py
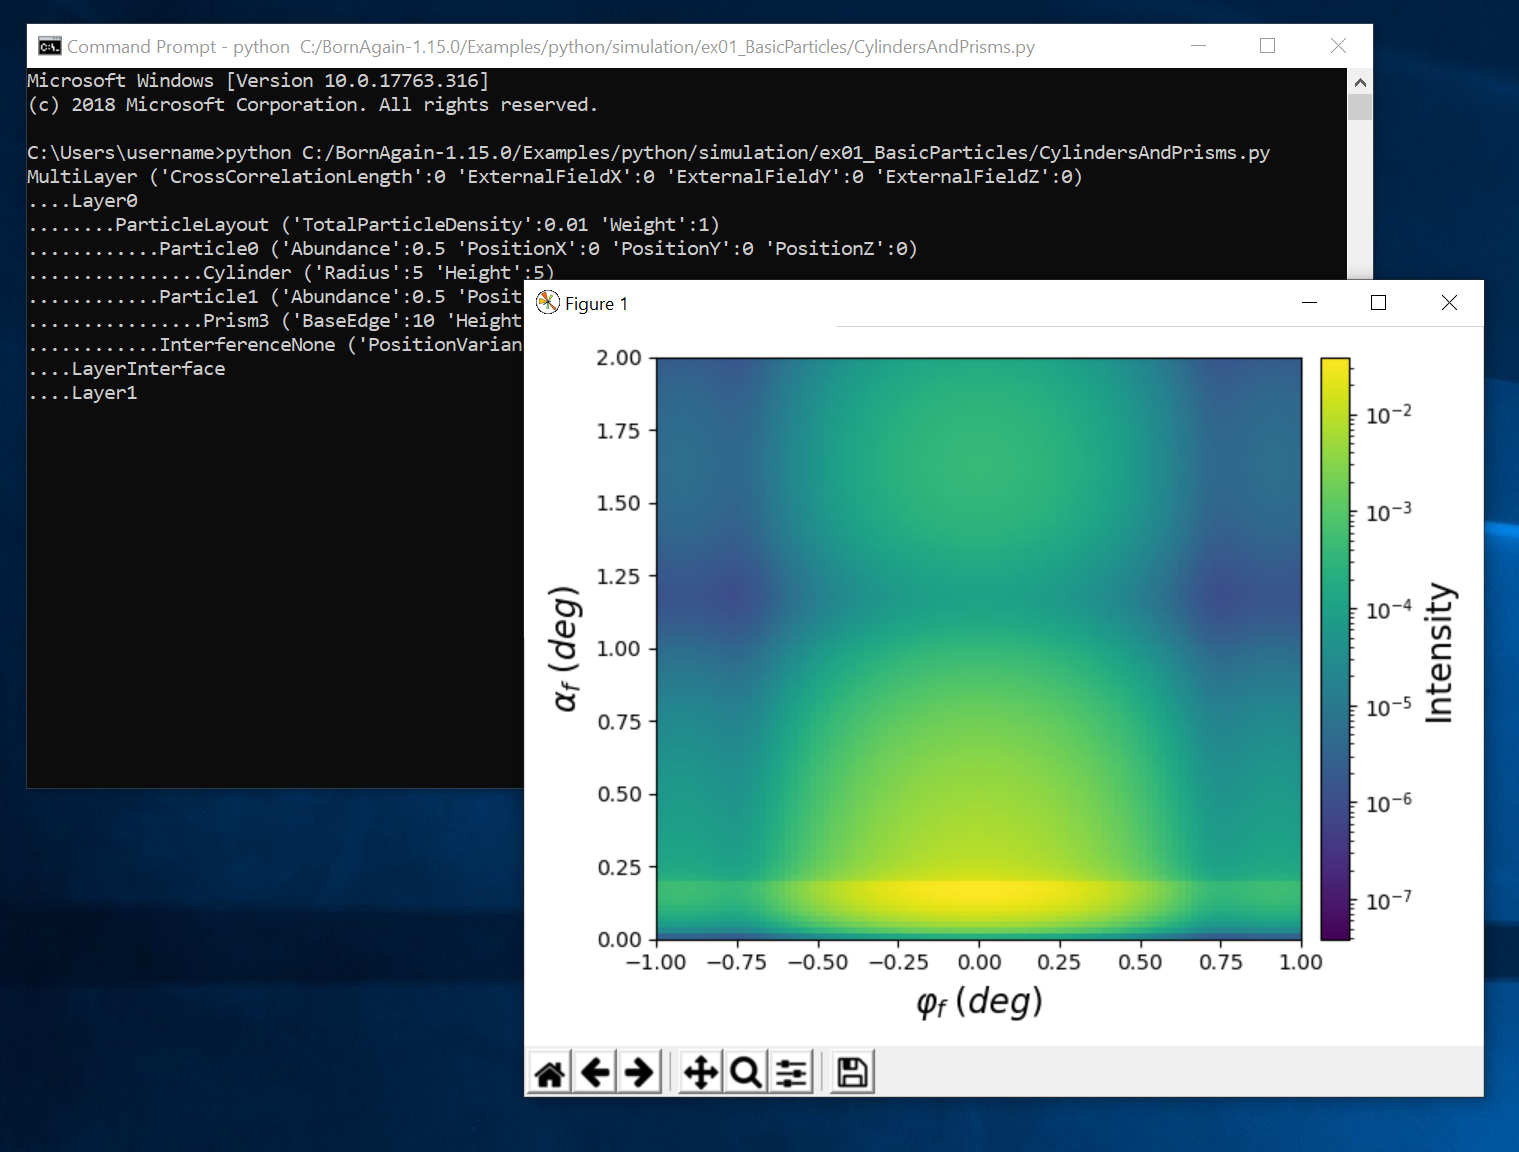
The used path implies, that BornAgain was installed to the default location. If this was not the case, you will have to adjust the path to the BornAgain Python example accordingly.
Tip: while typing long commands in the command shell you can push the TAB key and Windows will attempt to autocomplete long directory names.This kind of manual launching is not very convenient for regular usage and should be considered rather as yet another validation step.
To run BornAgain scripts in a convenient manner, one has to use one of the Python integrated development environments (Spyder, PyCharm, VSCode).
Our own choice is to use VSCode - a light-weighted but powerful free code editor from Microsoft.
To run the VSCode editor one has to start it using Anaconda navigator. Start Anaconda navigator from the Windows start menu, and then start VSCode editor from
the navigator.
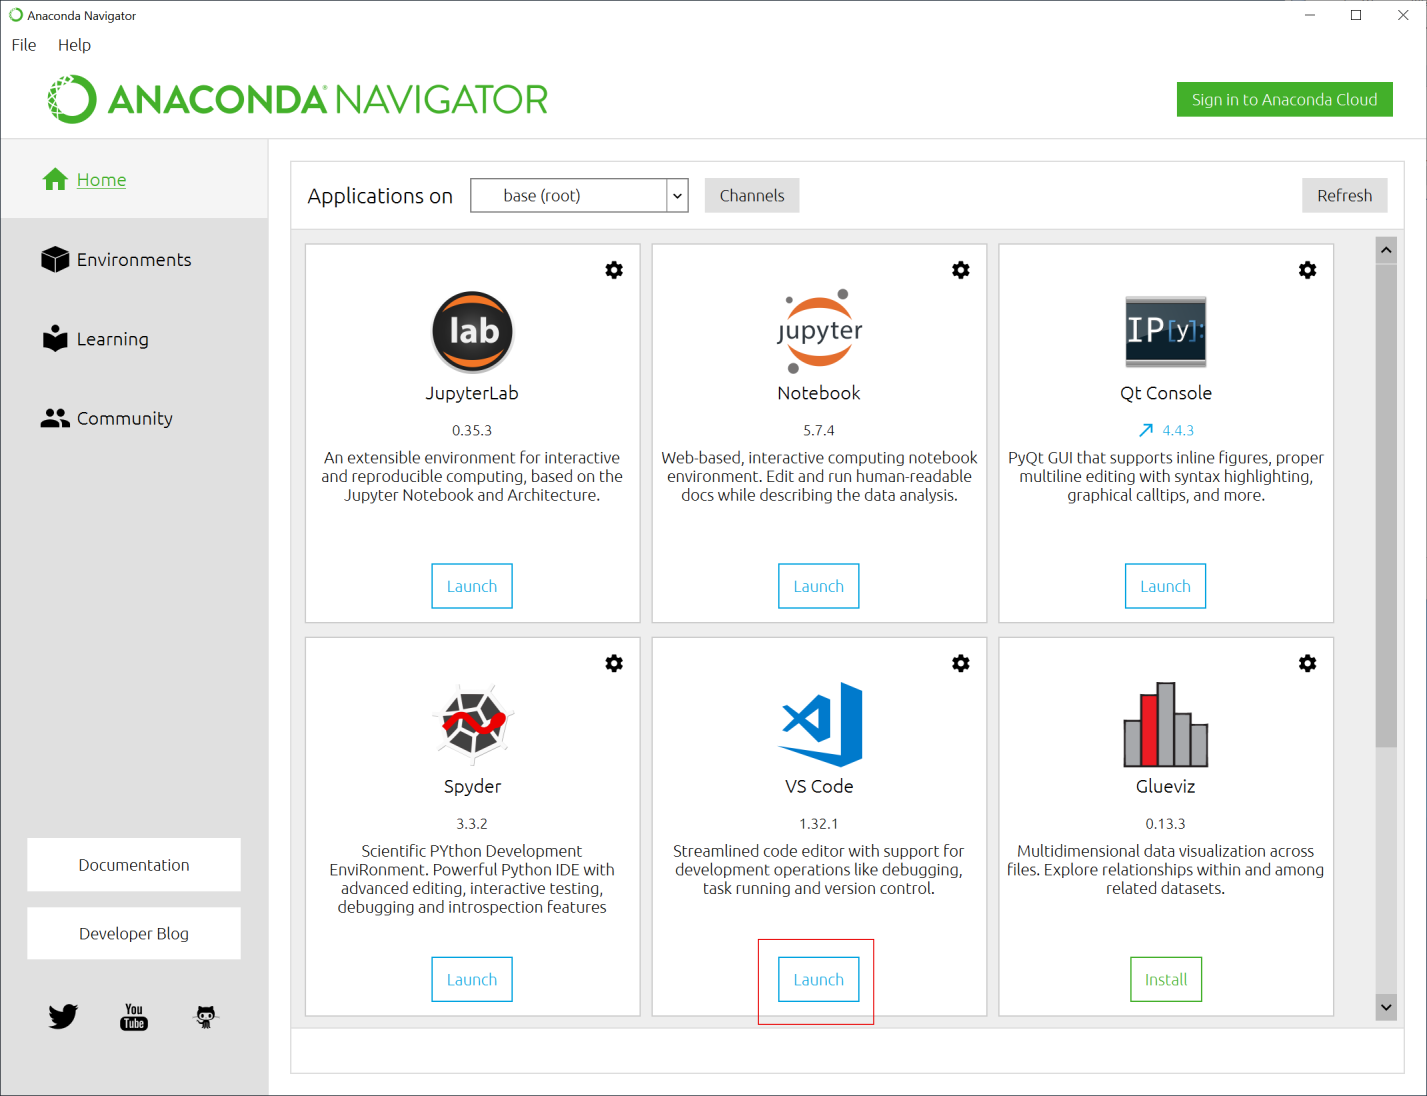
The Anaconda navigator is an important component of the Anaconda eco-system. In the given example it not only starts the VSCode editor, but also defines the correct environment variables to make VSCode work correctly in the conda environment.
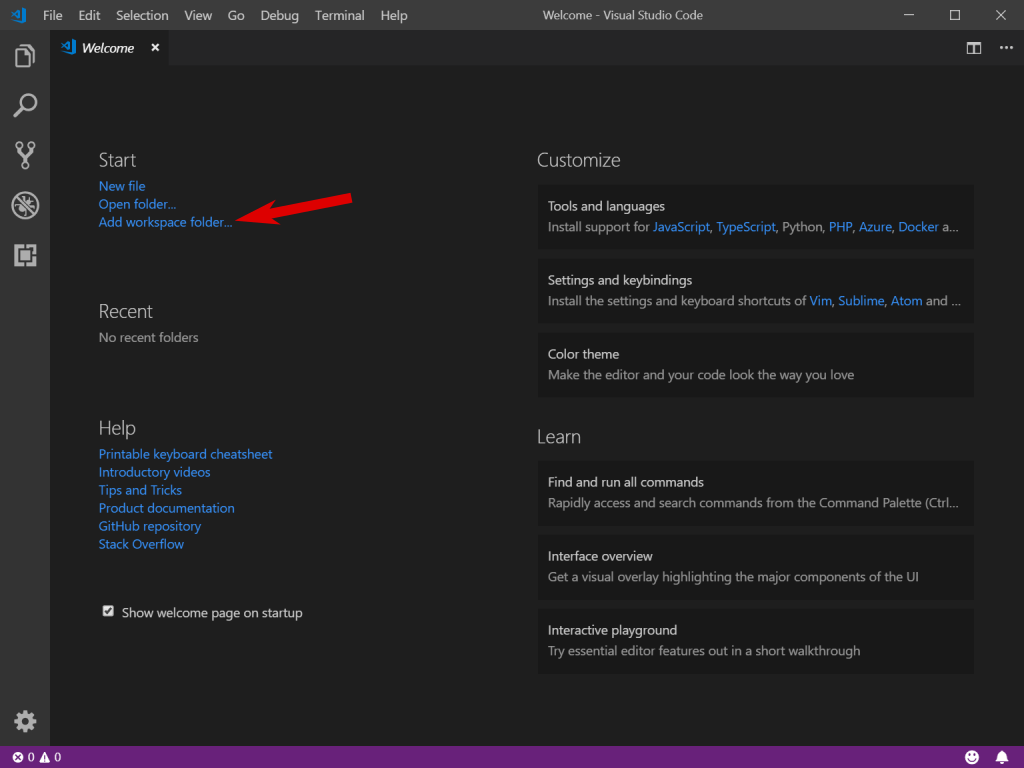
Anaconda navigator to start VSCode in the correct environment.By default, the VSCode editor opens a welcome screen.
Add the folder with the BornAgain Python examples to the workspace
by clicking Add workspace folder as shown in the screenshot below.
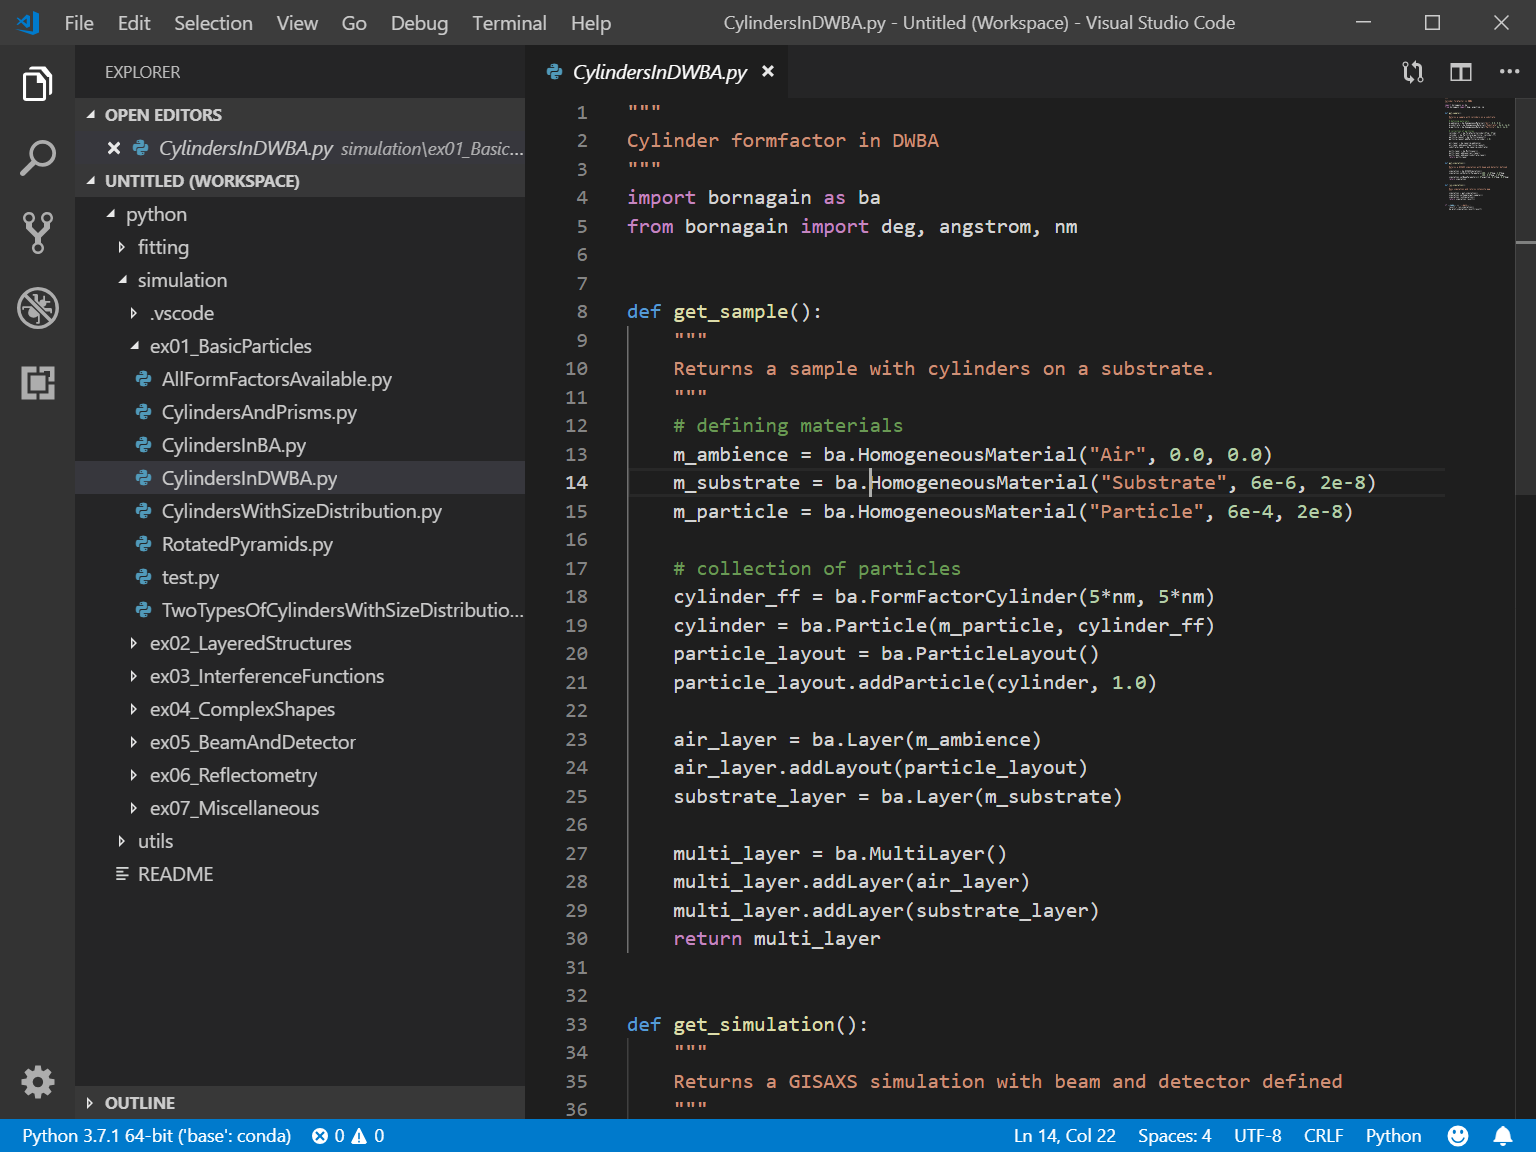
Choose the directory with the BornAgain Python examples at C:/BornAgain-1.19.0/Examples/python
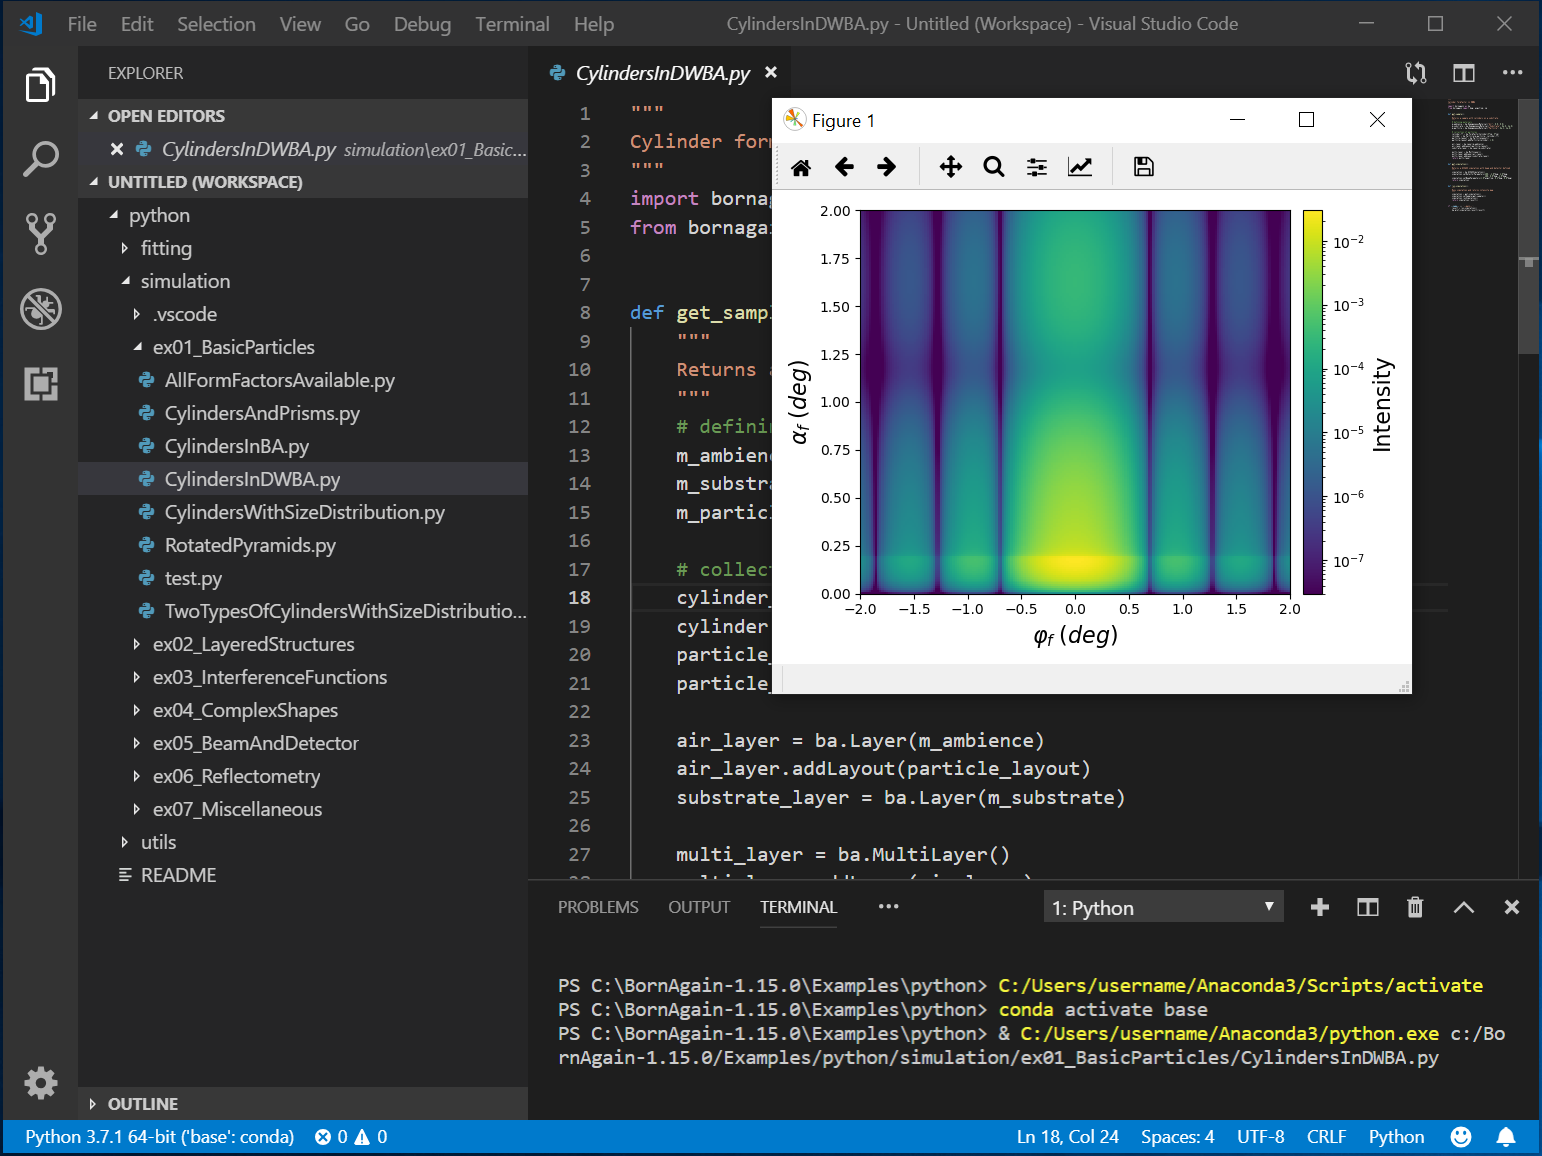
Choose any example and run it in terminal using the right mouse button.
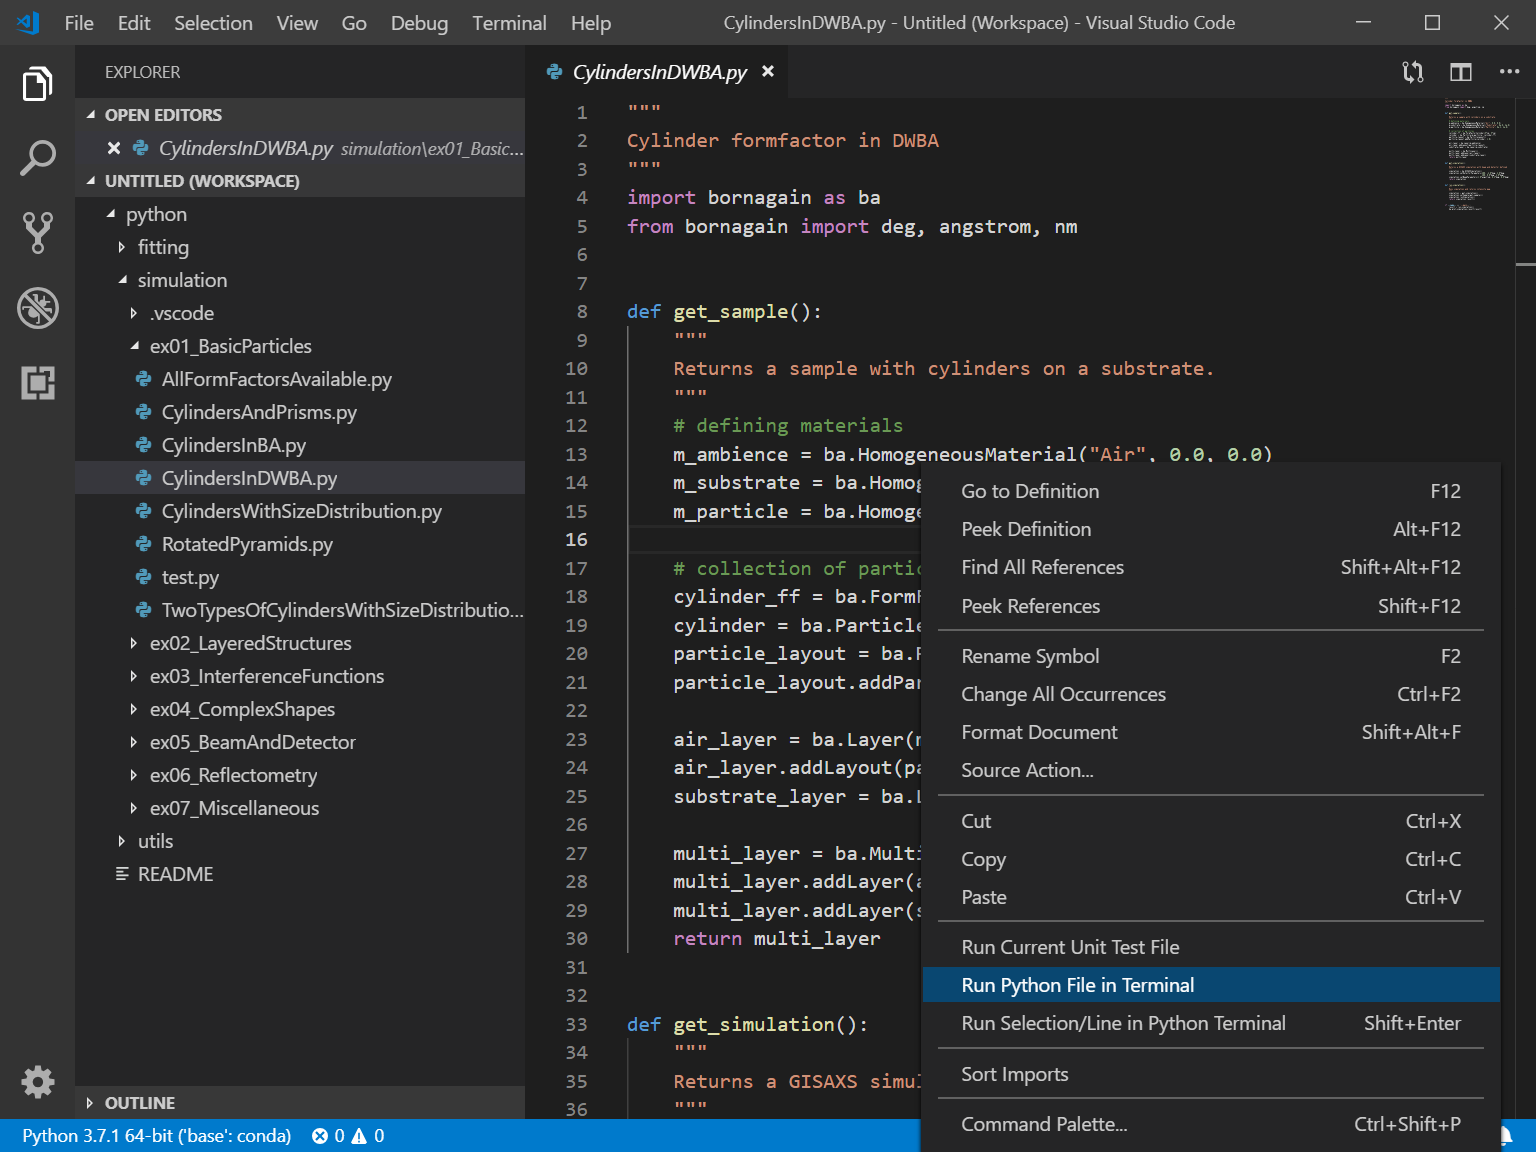
The script will be executed in a terminal embedded in VSCode and a scattering image will appear on the screen after the simulation has completed.
If you are experiencing problems in running a BornAgain Python script, please make sure that
VSCode editor from the Anaconda navigator.Anaconda is a rolling release which allows to switch between various Python versions, update/remove packages using the conda environment, create isolated Python
virtual environments and so on. It is also possible to setup a Python IDE, like PyCharm to work together with Anaconda.
The description of the necessary configuration steps goes far beyond this tutorial and interested users are suggested to proceed with
Anaconda documentation.