In this tutorial we explain how to run BornAgain Python examples using PyCharm - a free and multi-platform Python integrated development environment, which enables one to work with Python code in a convenient manner.
At this point we assume that the user has already installed BornAgain and a Python distribution as explained in Python installation section.
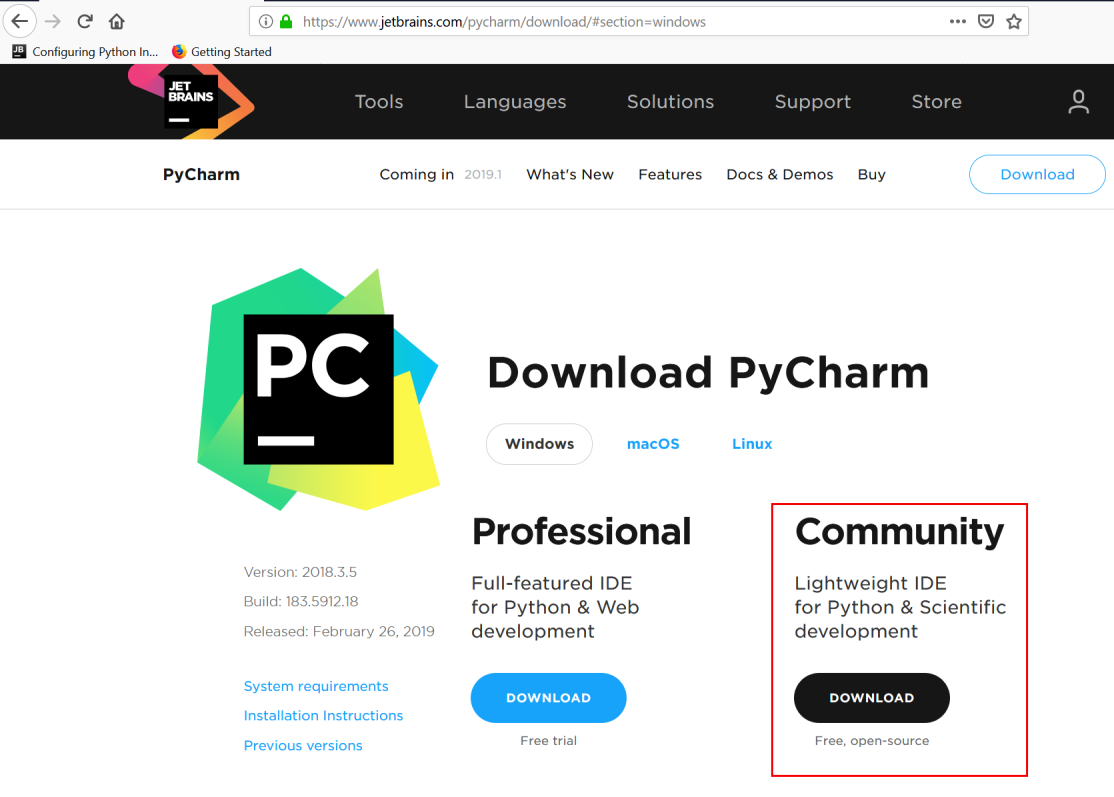
Download the PyCharm installer from here. Make sure you are installing the community edition, which is free.
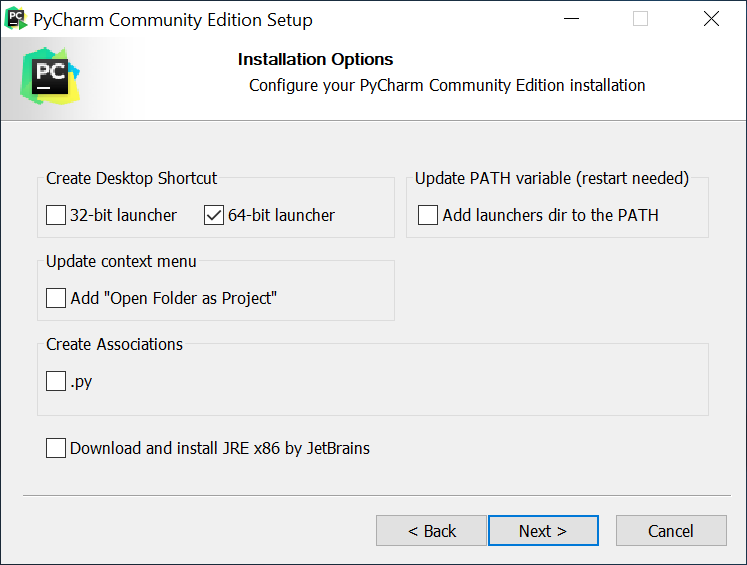
Run the installer.
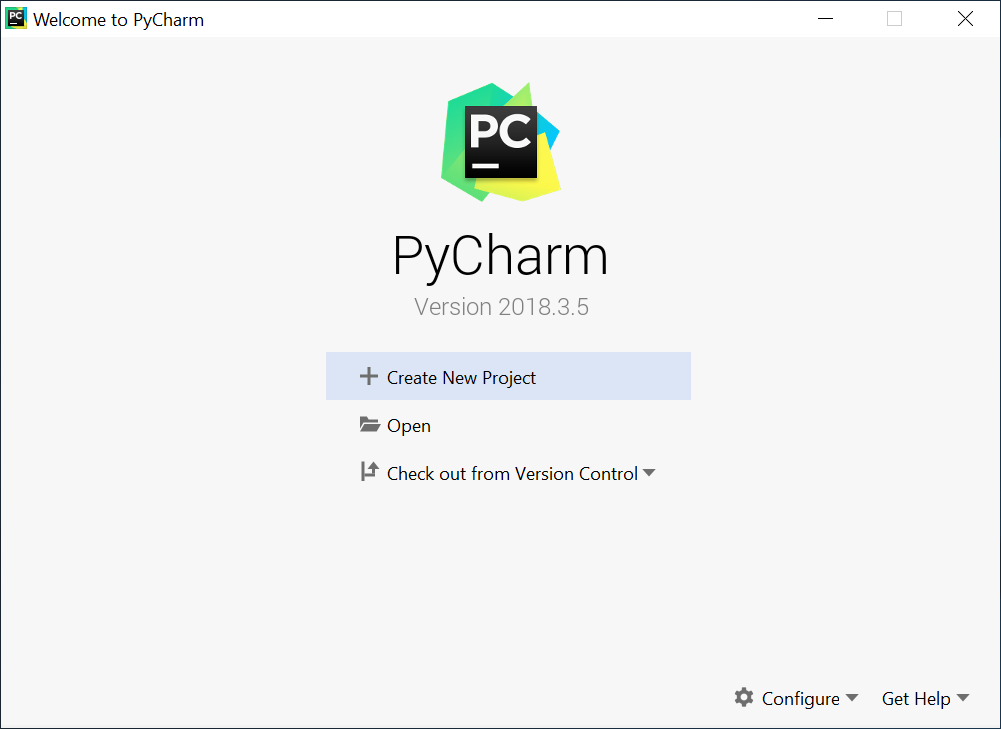
Open PyCharm and select Create New Project:
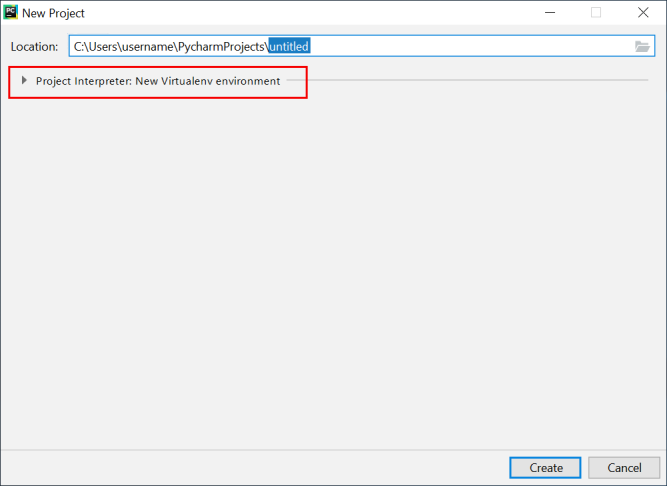
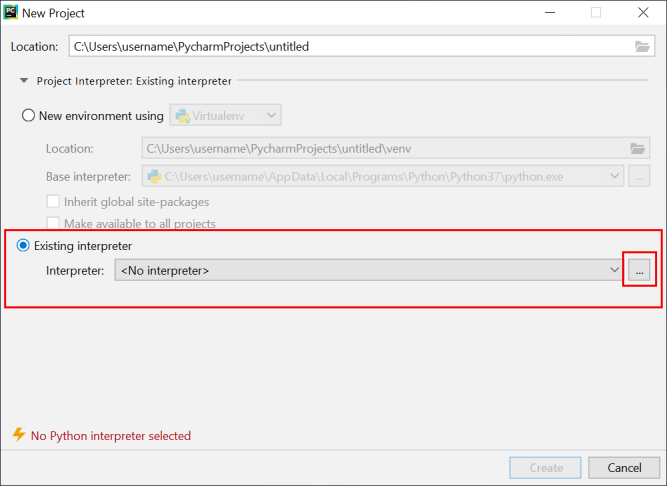
The project Untitled will be created in the default projects directory. Click on Project interpreter to start configuring the Python interpreter.
Click on Existing interpreter and proceed with the interpreter selection.
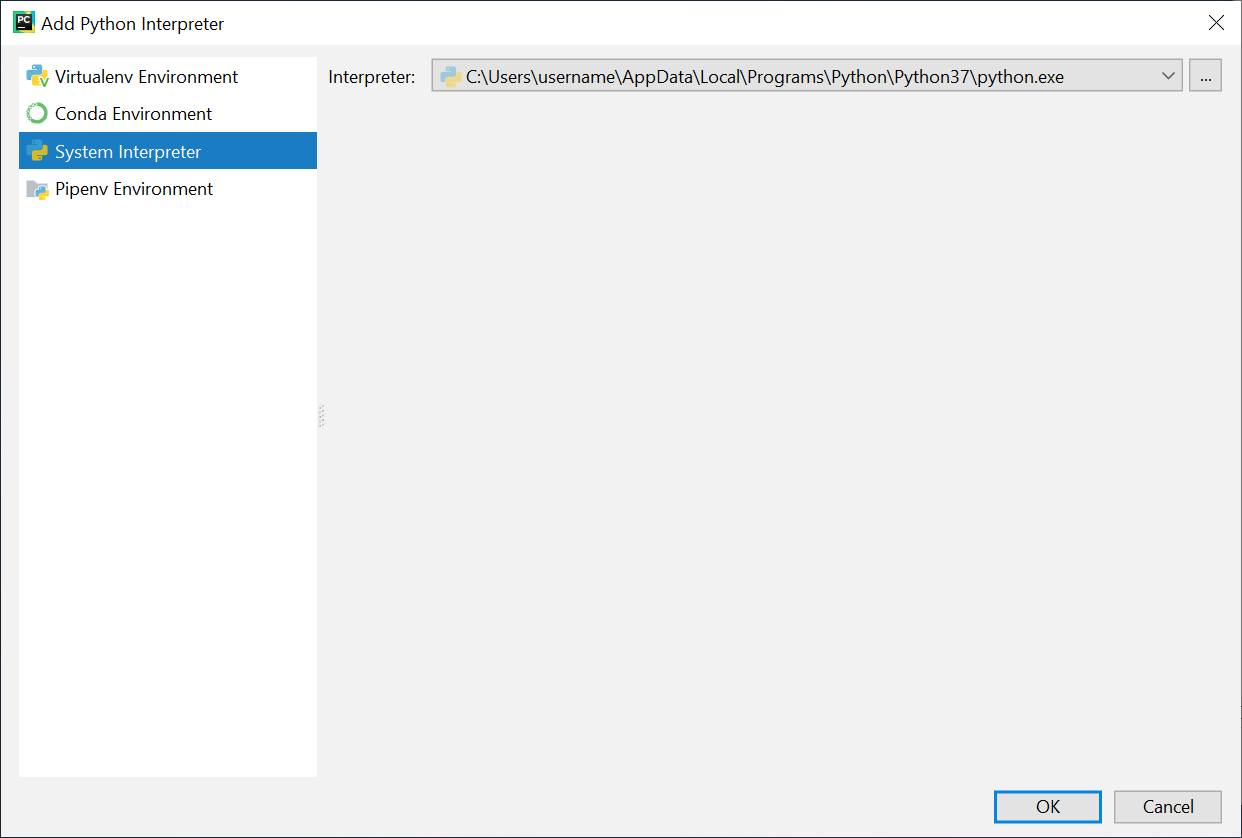
In the new window, select System interpreter. This will let you select the system interpreter you have installed already
during the Python installation phase.
The final window for project creation should look like the screenshot below.
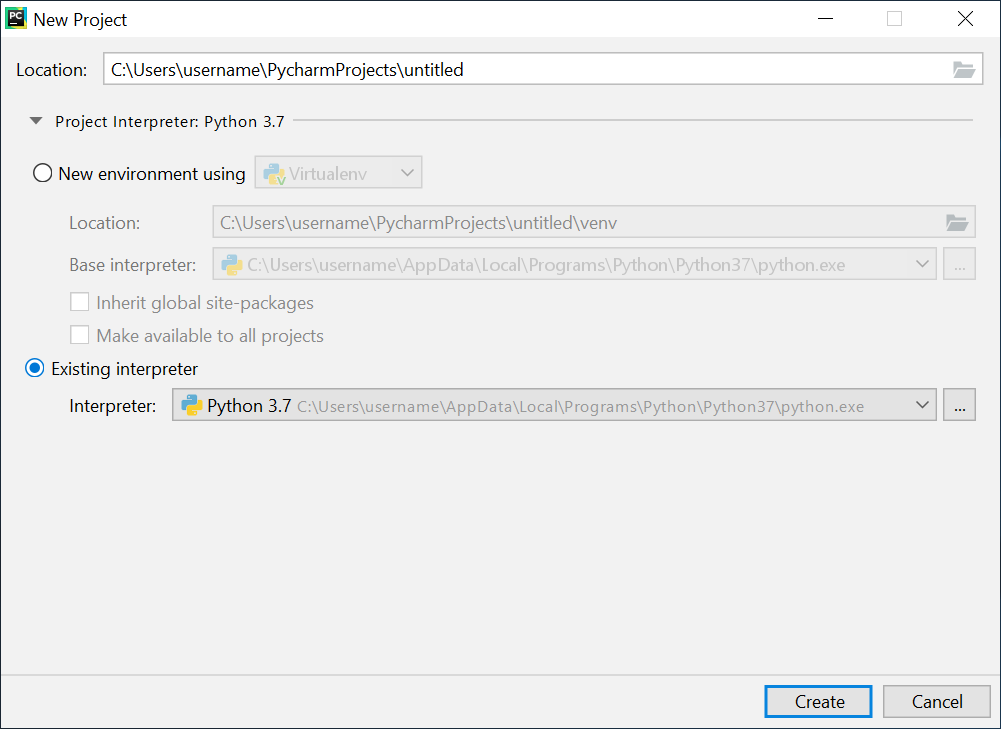
Push create project button.
PyCharm to work with the system interpreter directly. Please note that PyCharm has the possibility to run code in a so-called virtual environment. The detailed description of the configuration process can be found on the
official web site.As soon as you push the Create button, you will be presented with the initial project view. The tree view on the left shows that your project consists of two parts: the Untitled directory for your Python scripts (which is empty for the moment) and the External Libraries directory (which is not relevant for us at this point).
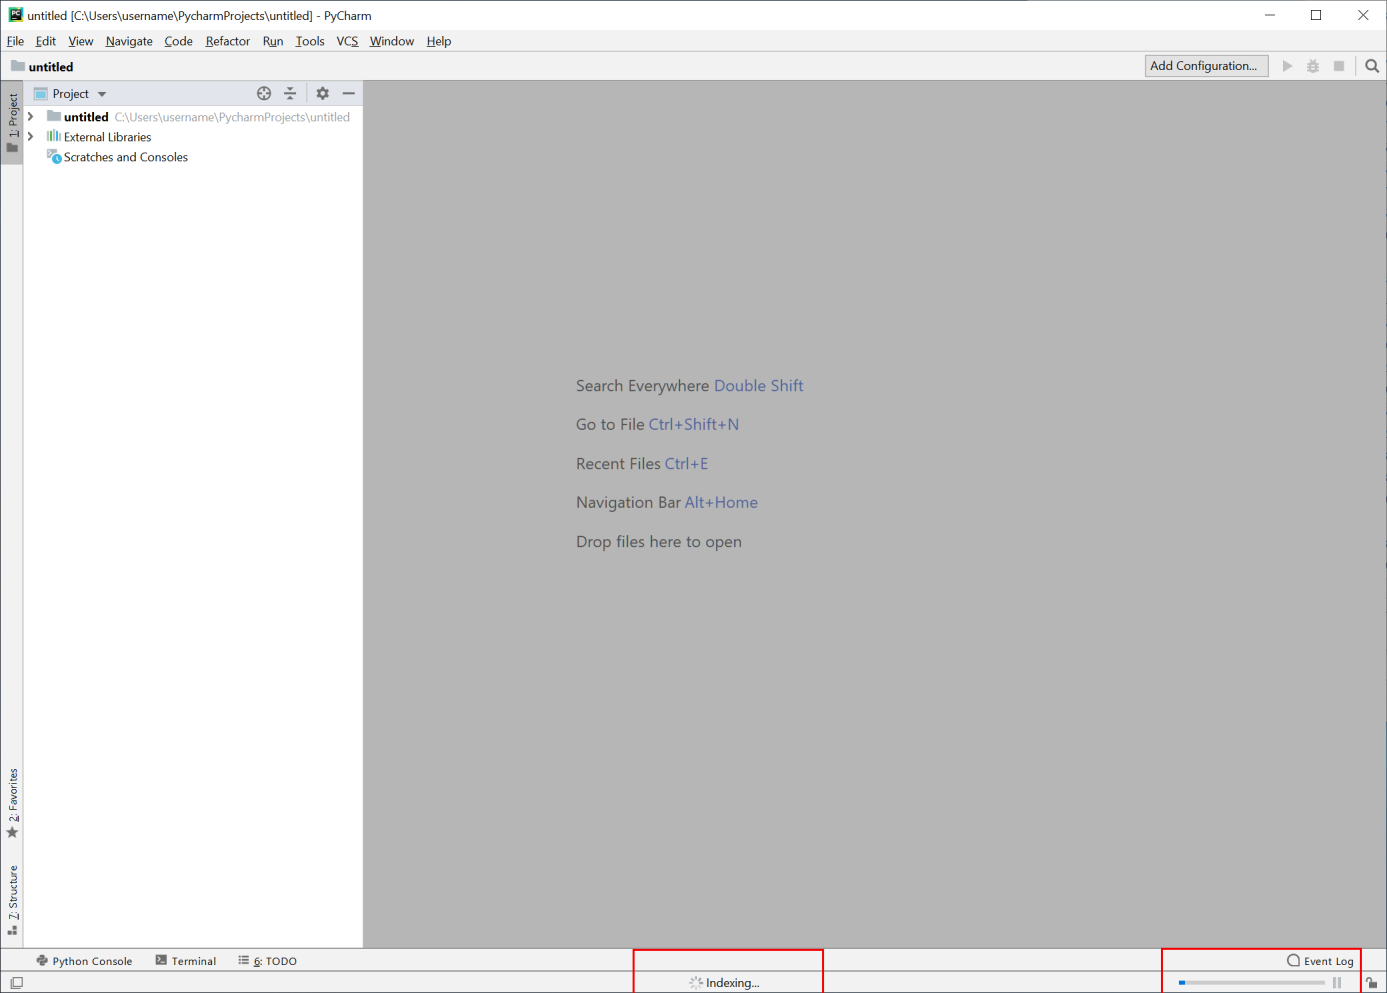
Please also note, that PyCharm will automatically start with indexing (see the label and the progress bar at the bottom of the screen). This is a one-time procedure in which PyCharm familiarizes itself with the project interpreter and its environment. This phase can last from several minutes up to half an hour, depending on the speed of your computer. During this phase you will not be able to run any of the Python scripts.
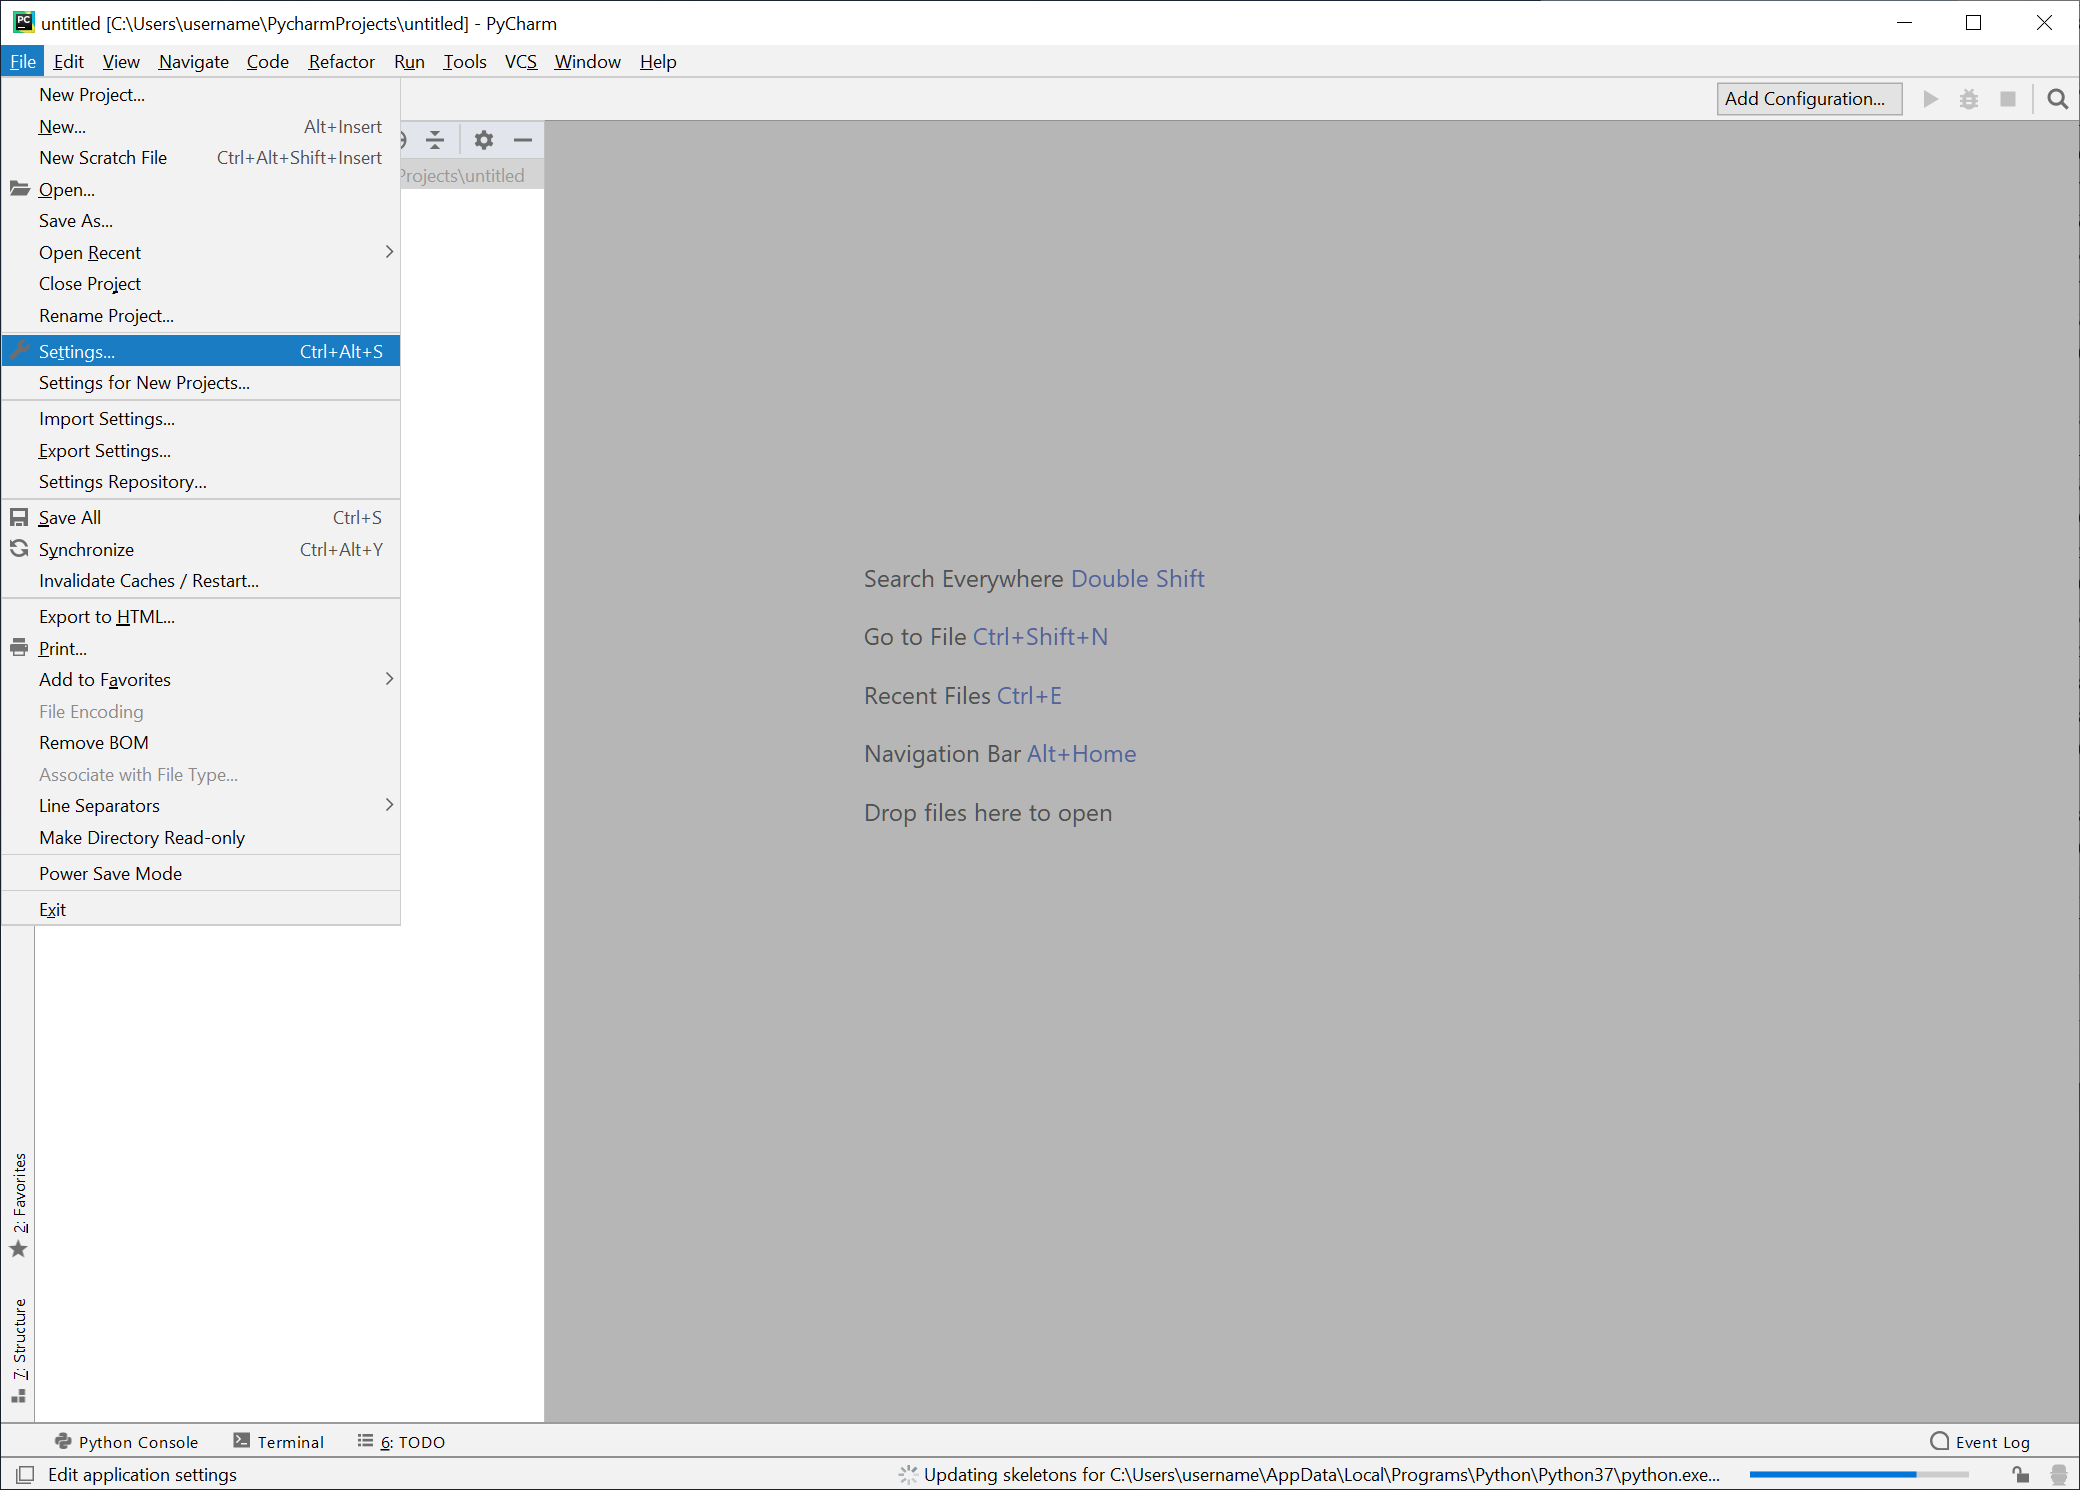
Now, let’s add the BornAgain examples to the project directory to be able to run and modify any of them at any time. Go to the File/Settings menu:
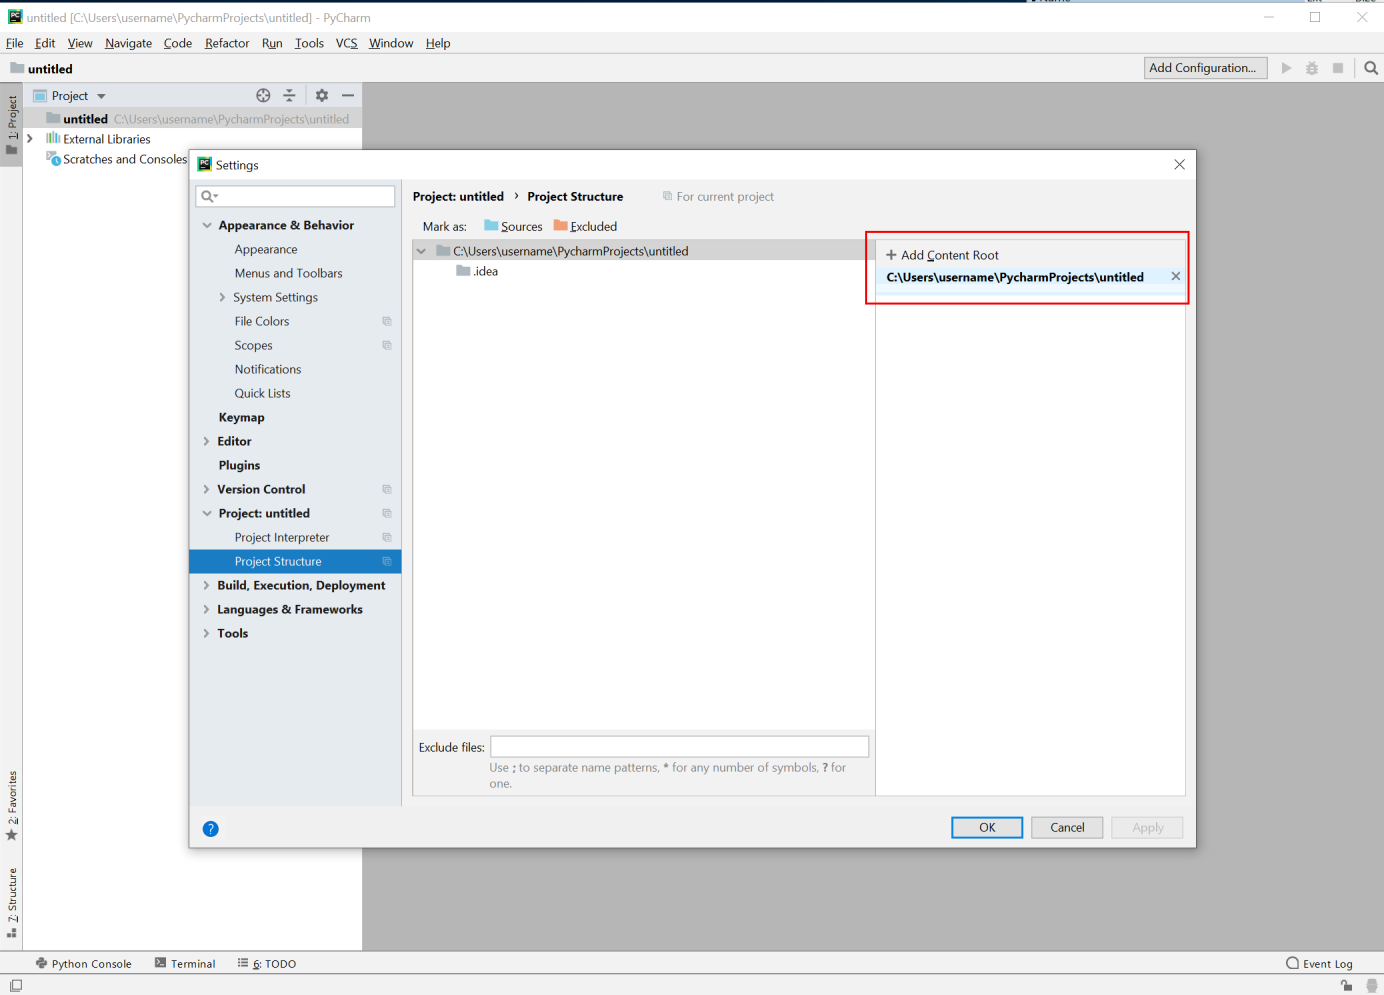
On the left, select Project -> Project Structure and then push the button + Add Content Root on the right:
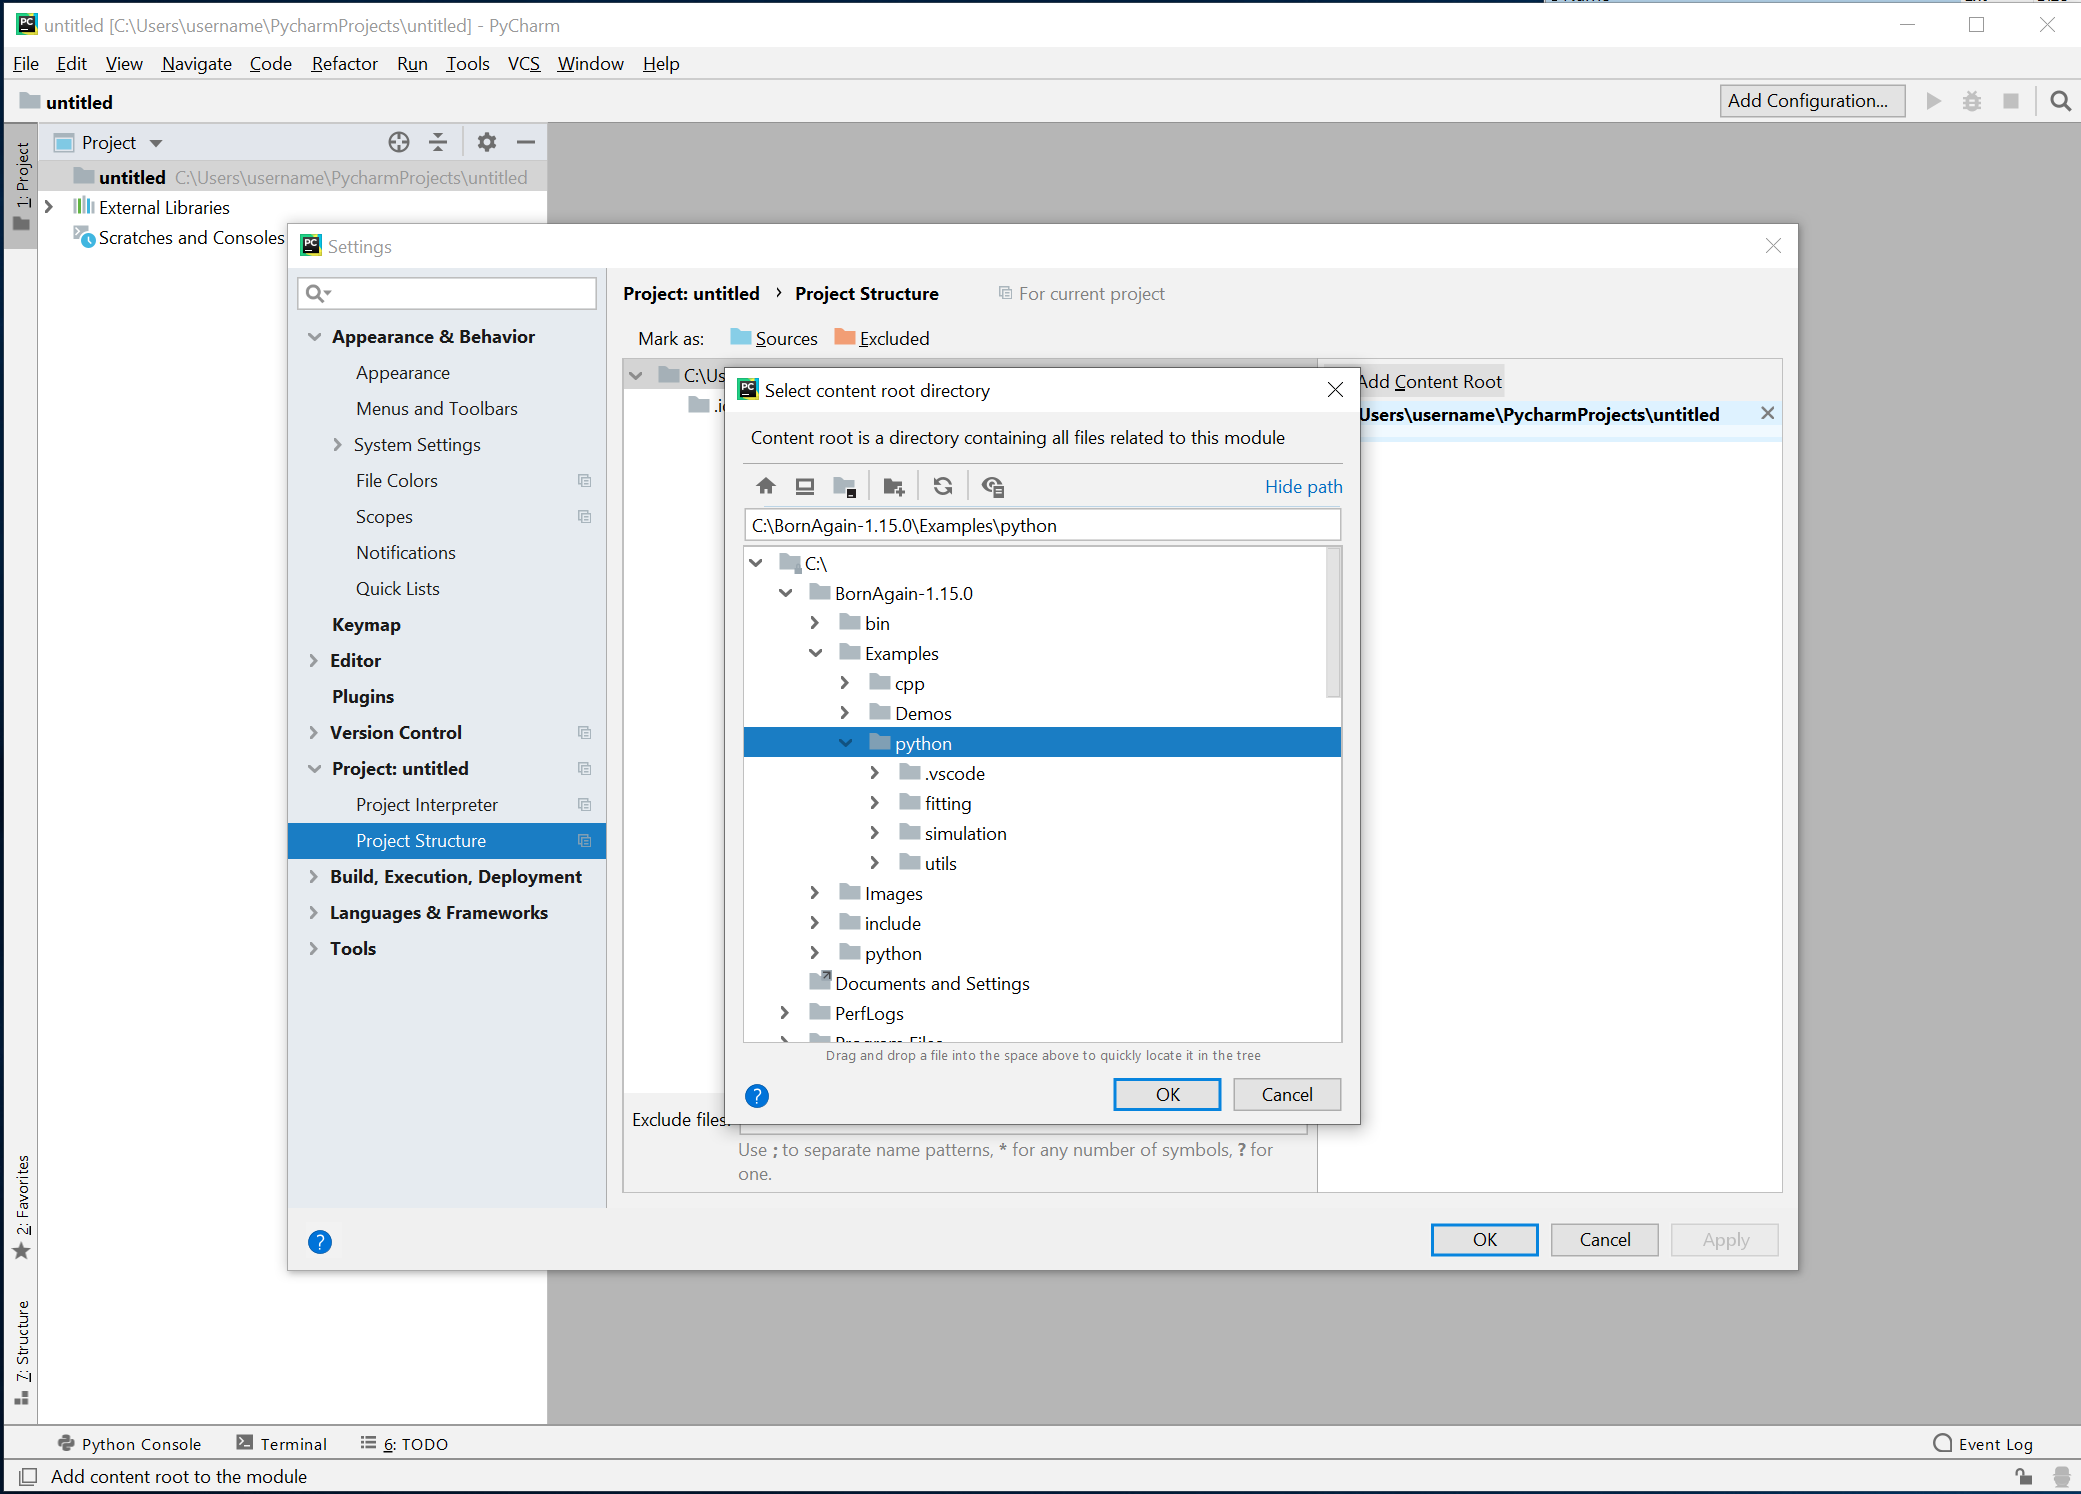
A new window will appear and now select the directory with the BornAgain Python examples and push the OK button.
C:/BornAgain-1.19.0/Examples instead.Close the settings window. The final project should like shown below.
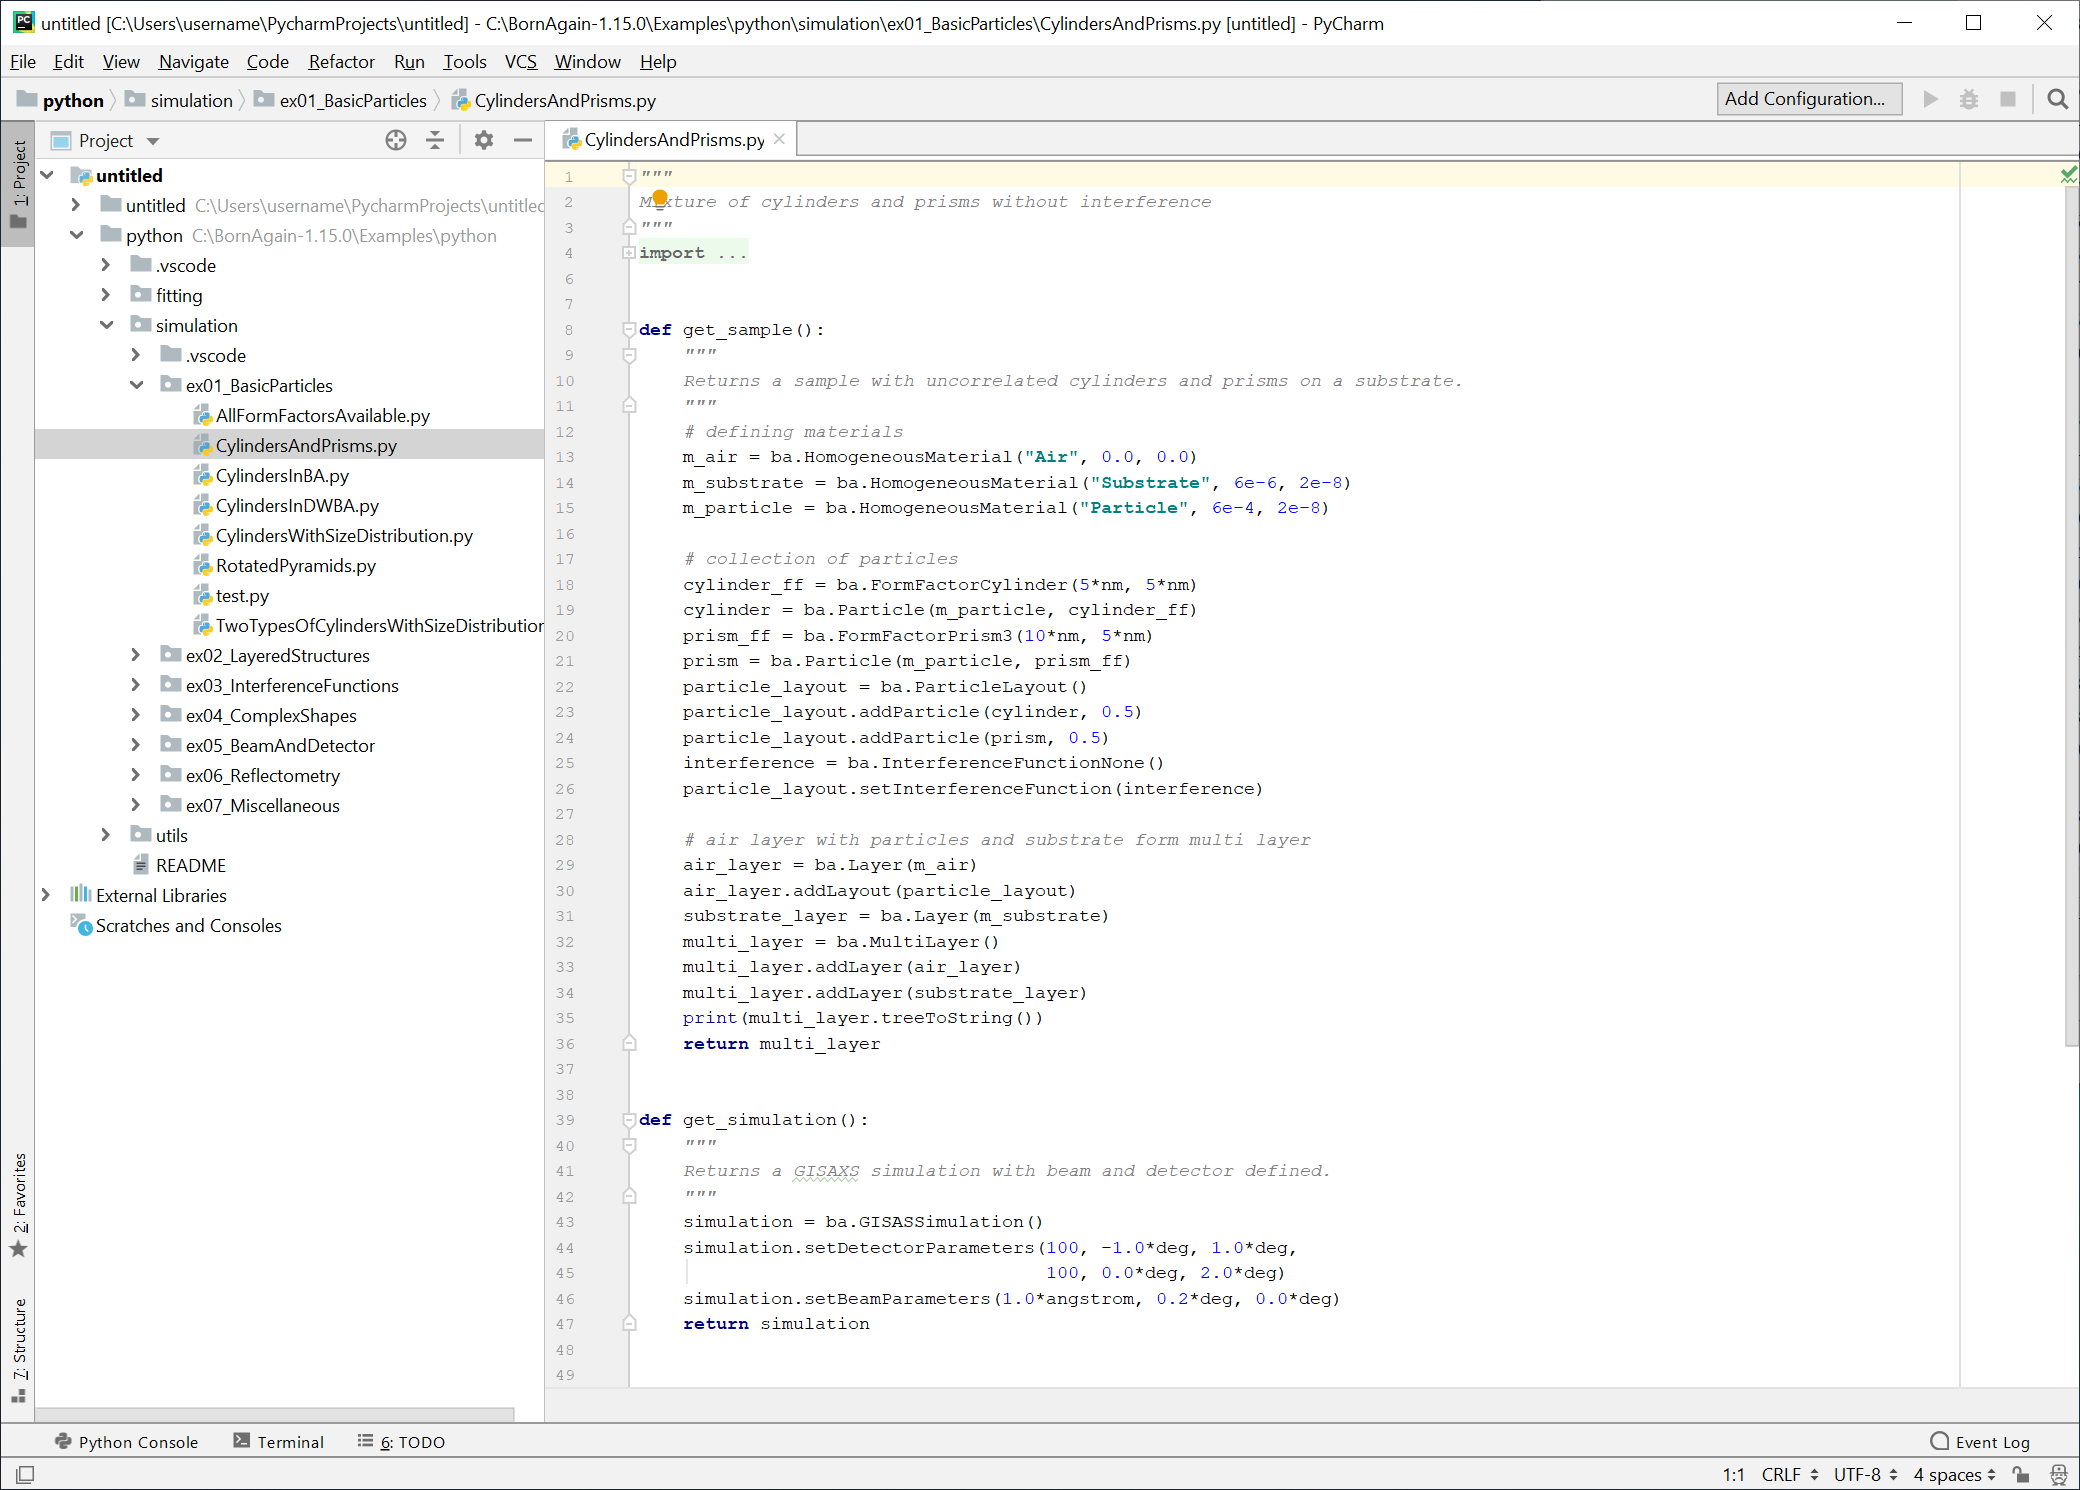
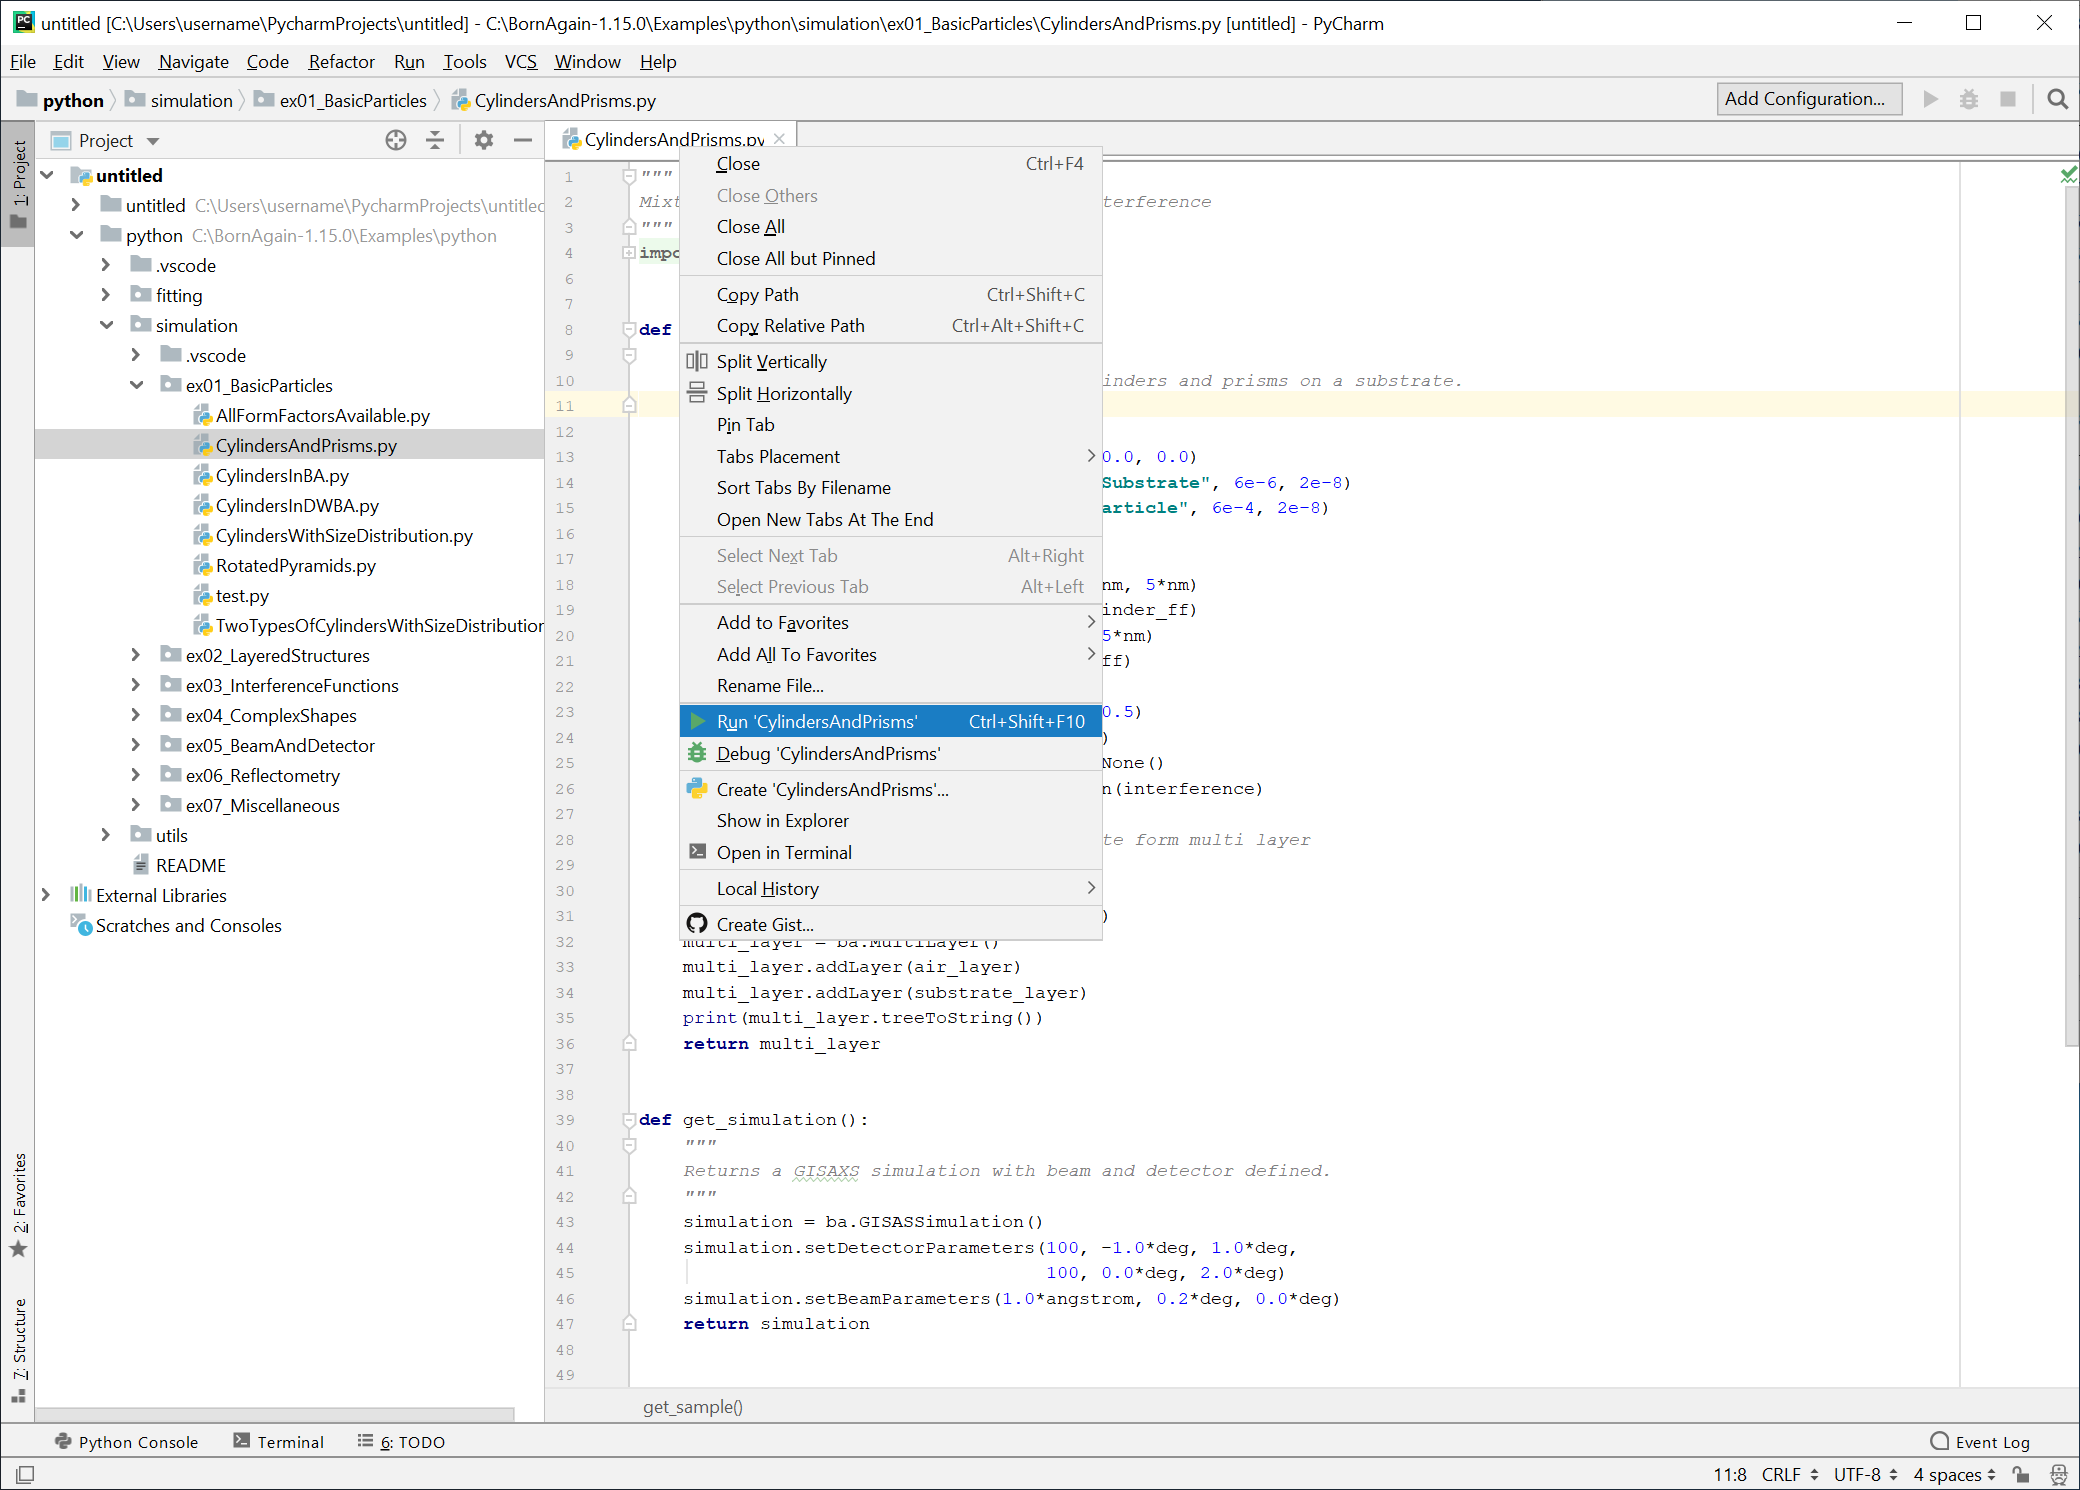
Try to run any of the examples using the right mouse button.
You should see a scattering image appearing on the screen.
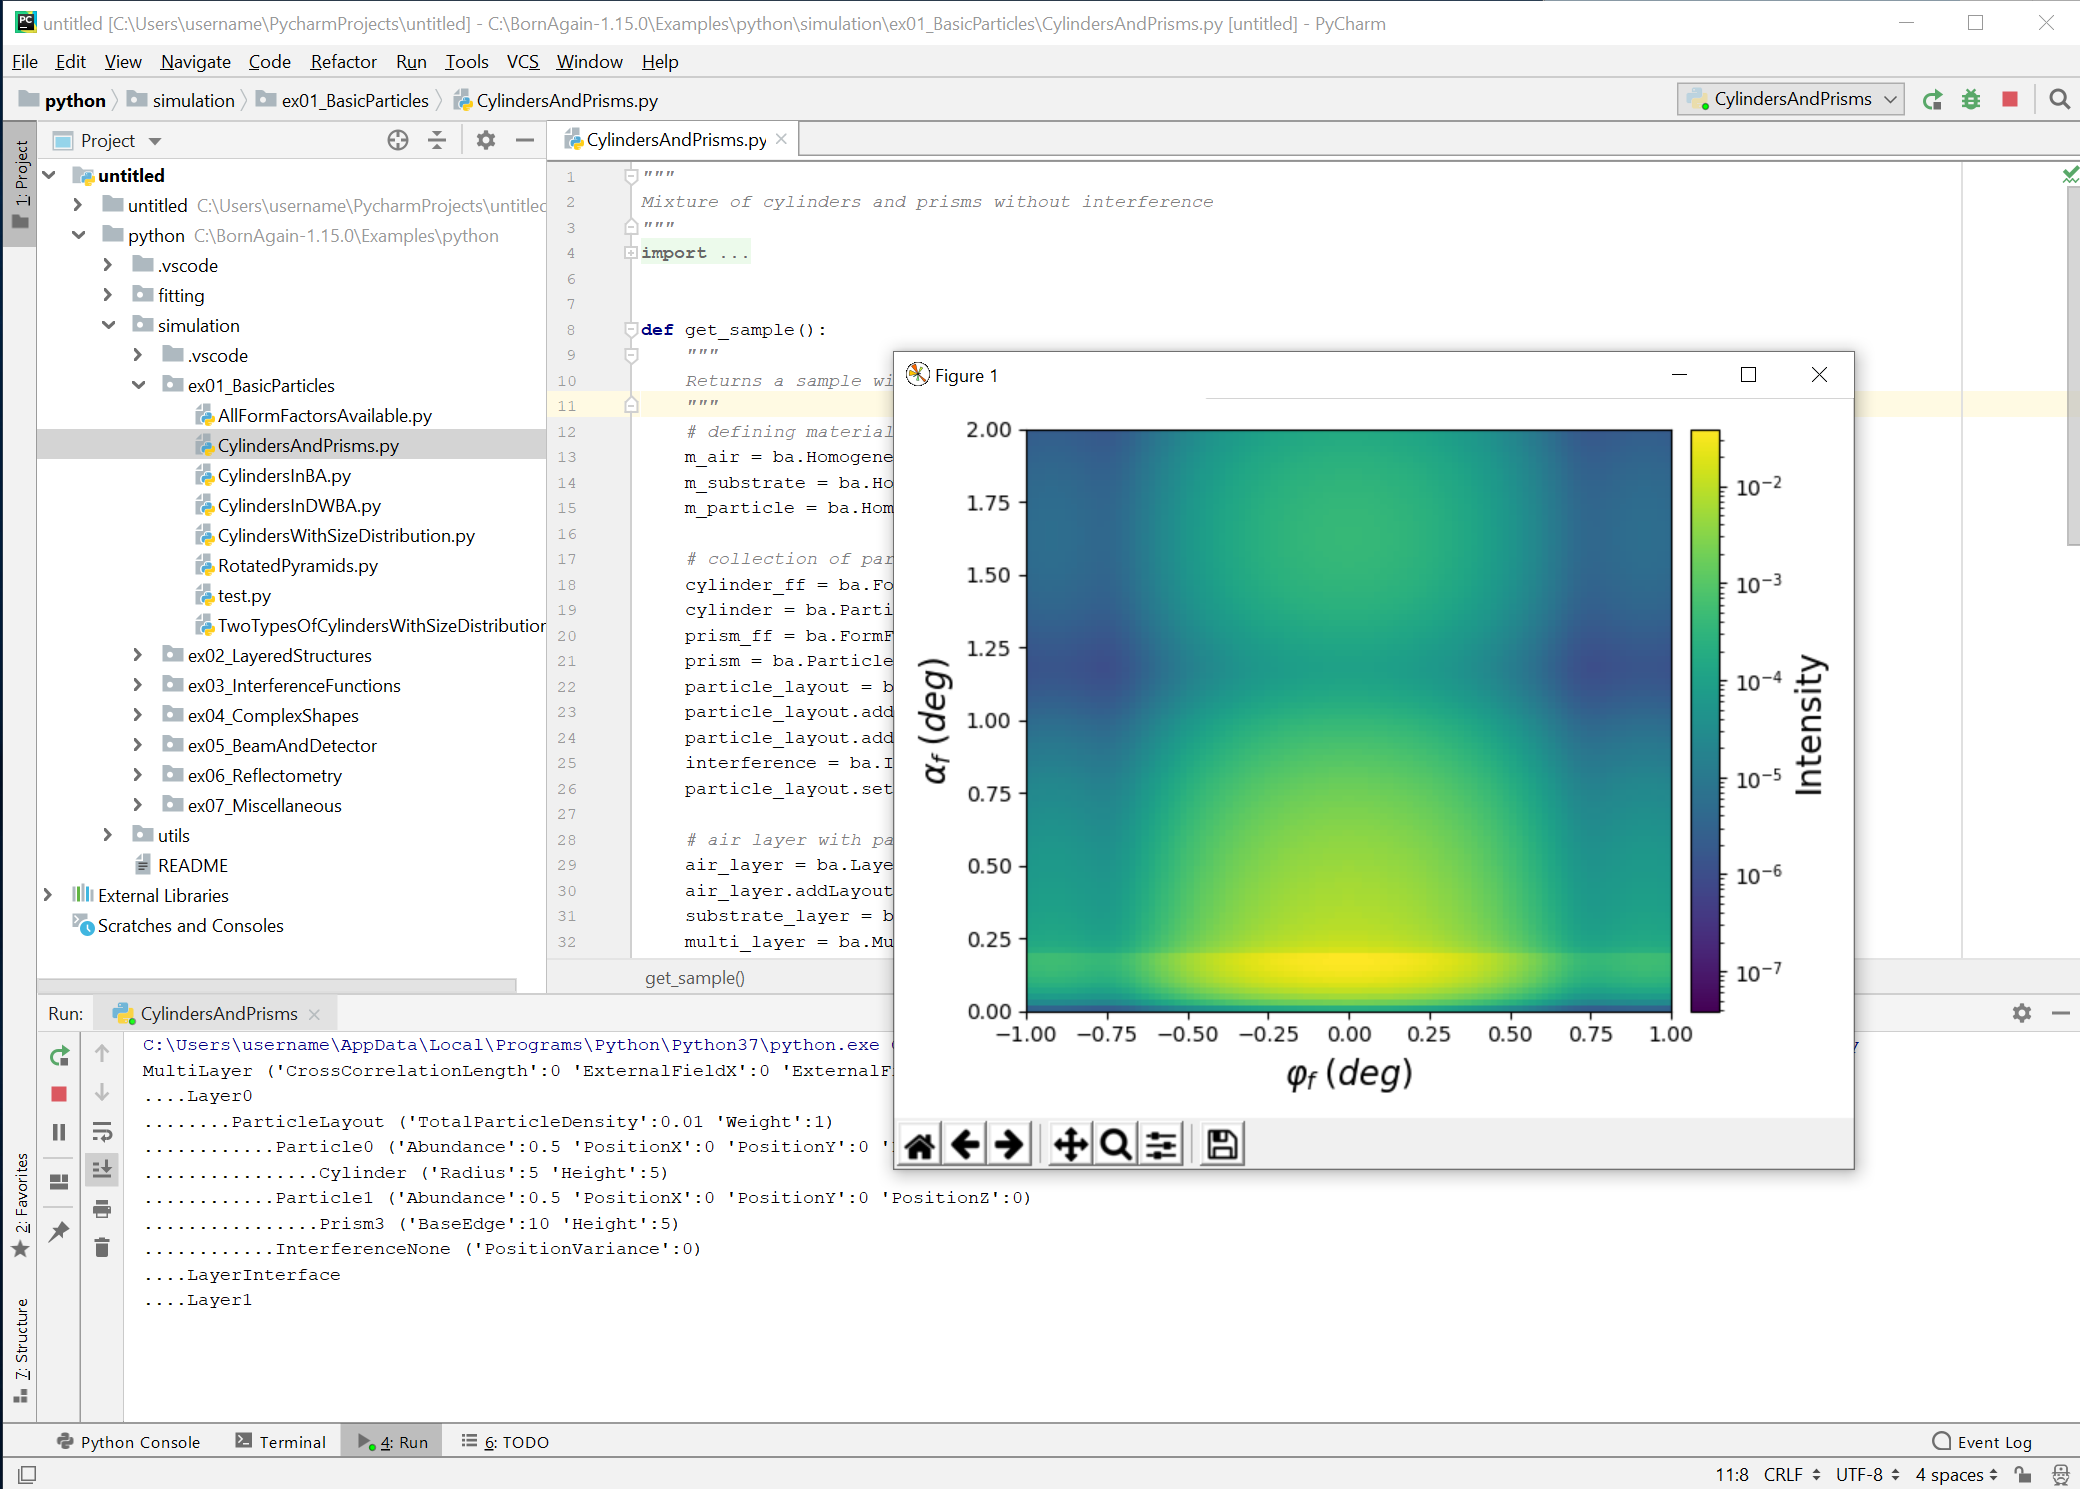
Congratulations, you successfully configured PyCharm to work with BornAgain!